This task saw us experiment and create various materials within the Unreal Engine, with the aim of creating 4 different materials that could potentially be used in other projects. This is my first time interacting with Unreal in this manner, which was a challenge to understand at first but I quickly started to learn the interface which made the project enjoyable.
CREATING MATERIALS
In Unreal Engine, materials can be used and applied to an object’s mesh to control how it appears within a space. Additionally, Unreal Engine has the capability to allow the user to create custom materials that are specific to their projects, allowing total control over specific aspects, such as how metallic they want the object to be or whether the object should have a glow to it.
I started this project by creating 4 different materials, all following the naming convention of “M_” for their respective material types (E.G, “M_Neon”). Once these were created, I was then able to edit them in the Material Editor, seen below.
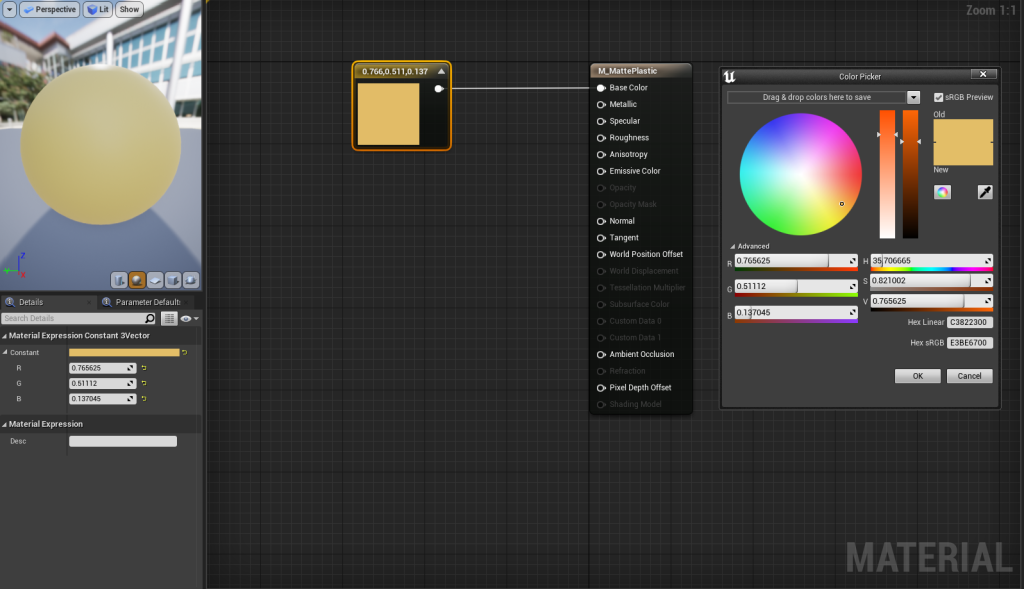
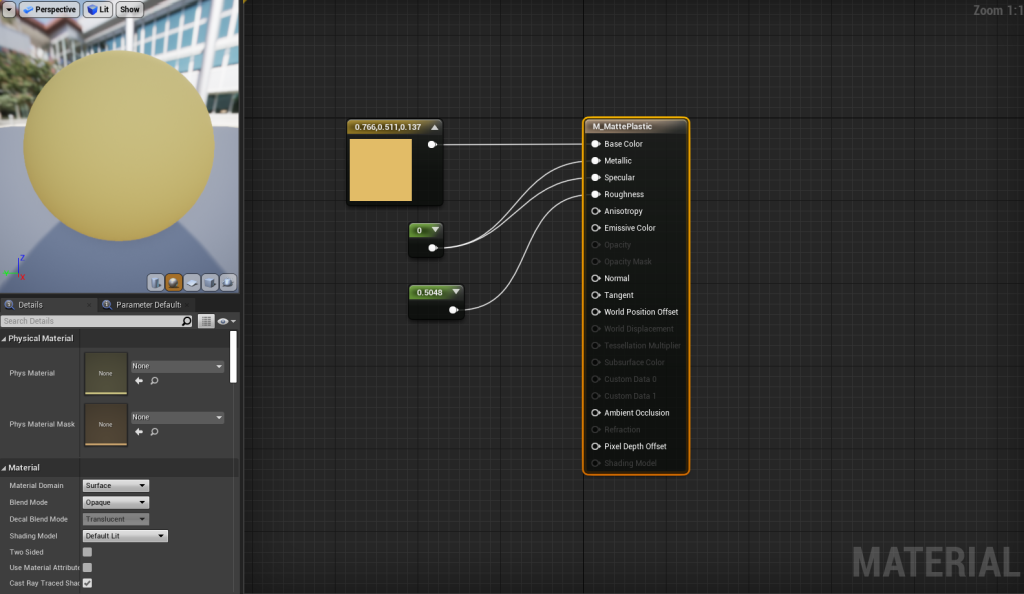
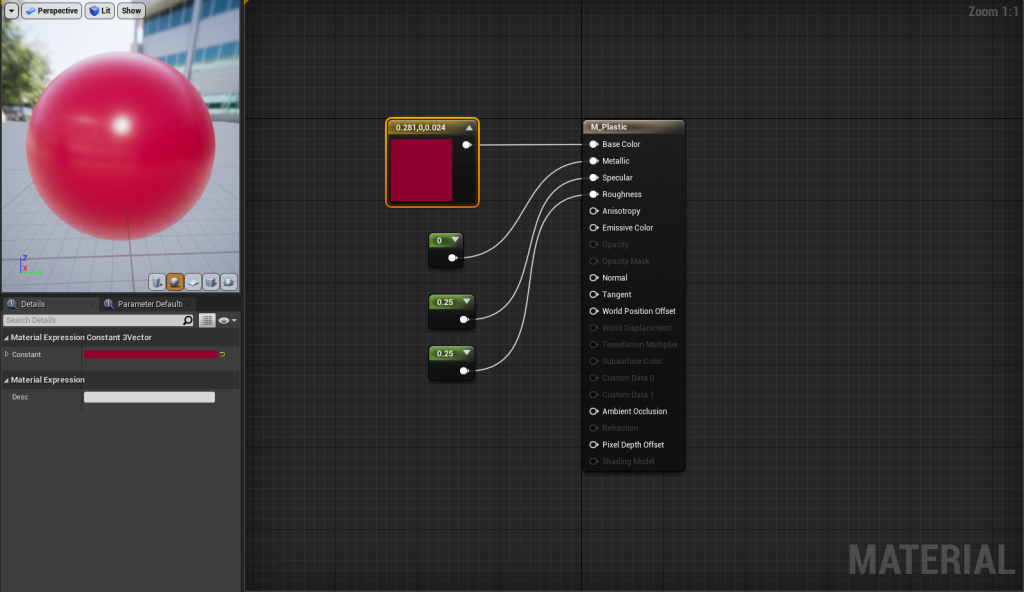
Unreal’s material editor allows for various elements to be edited. I started by creating a 3 Vector node and attaching it to the base colour, which allowed the base colouration of the material to be edited through the use of a colour wheel and RGB/HSV values. By adding other nodes into the editor, such as the Vector1 constants seen below in the screengrab of my Matte Plastic material, I could edit other aspects.
The first material I experimented with creating was creating Matte Plastic. I experimented with the value of the “Roughness” property, which made the material less reflective and almost akin to the texture of rubber. I wanted this to be a rather basic material in comparison to the other plastic material to highlight the difference between its shiny counterpart. Furthermore, I added a small value to the metallic and specular property to ensure that the surface had a very small reflective surface, making it appear more how matte plastic appears in real life.
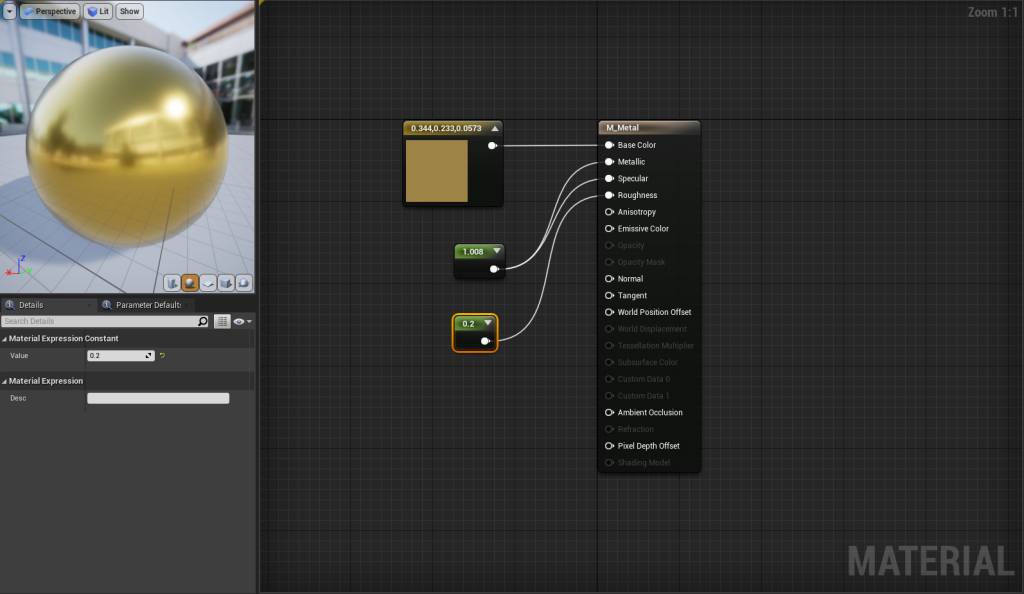
I then progressed to creating a metallic material that I could potentially use in my project. As the theme for my project is “Steampunk Victorian”, I wanted to make a material that was rather close to brass. In the mood board for the project, brass is a recurring material that seems to be used in various elements of the machinery, pipes and decoration which prompted the choice of material.
I experimented with various values for the “Metallic” and “Specular” properties for the creation of this material. I discovered that as the value increased in the Metallic property, the material would progressively become glossy and reflective, as seen below. The material had no imperfections or marks on it and visually appears to be perfect, like a new metal sheet, which is due to additional elements such as displacement maps not being applied. Additionally, editing the ‘Specular’ property separately also was rather interesting to experiment with. I found that when the value is at relatively low levels, it is rather similar to low ‘Metallic’ values, but once increased, there are more differences that can be spotted on the model. For example, the reflections that came from editing the specular property were much softer and were blurred compared to the reflections from editing the metallic property.
The creation of the shiny plastic material, in essence, was taking the values used in the creation of the matte plastic material and editing the value to achieve the desired effect. In this instance, I experimented with the extent that I could edit the specular and roughness properties before the material no longer appeared as intended. I found that 0.25 for the specular and the roughness properties gave the material the desired amount of reflections that would make it appear shiny – the material was not as reflective as the metallic material but was also not as dull as the matte plastic.
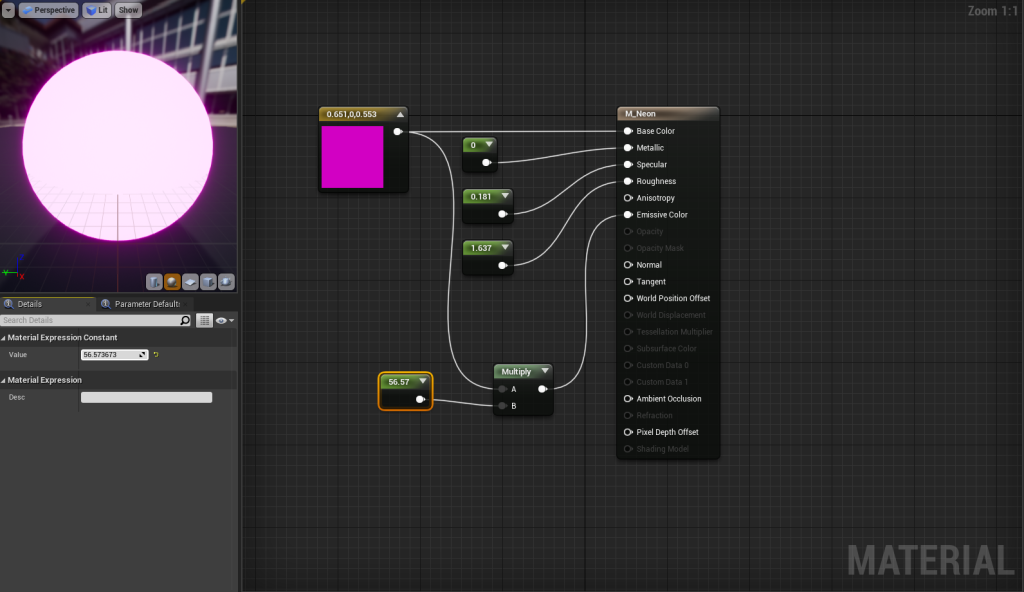
I created the Neon material by following the same steps as above but adding a multiplier to create a glow effect. Connecting the Vector 1 constant to the Multiplier along with the Vector 3 for the base colour allowed me to experiment with the intensity of the light emitted. In the images below, you can see the difference between having the value of the “Emmisive Colour” property set to 0 and then how the material behaves once the value has been increased; I had the value of the emissive colour set rather high to demonstrate creating the material and experimenting with Unreal, yet in future when I apply this material to a model I would have this value significantly lower due to all other properties becoming unnoticeable from the glow.

OUTCOME
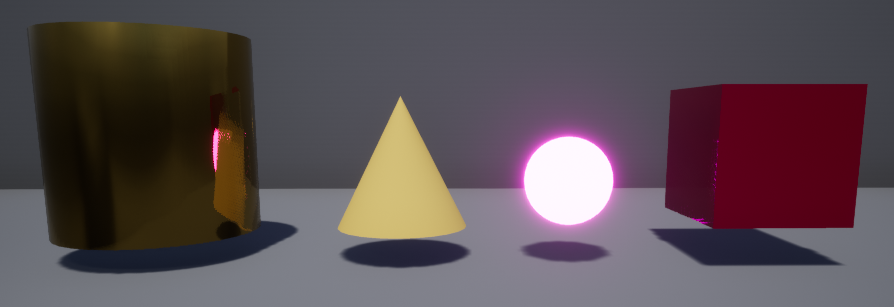
I was able to create 4 different materials in Unreal’s material editor. I’m rather happy with these materials, given that this was my first time exploring and using Unreal Engine and its interface. The materials could be improved, such as making the metallic material have more of a reflective surface or reducing the emissive glow on the neon material to allow the other properties to show through.