With the character model improved and detailed, the next step was to decimate the mesh to a lower polygon count in order to transfer it from ZBrush to Autodesk Maya to create the low polygon version.
DECIMATION
As the polygon count of my model in ZBrush was just below 15 million (14.938) polygons, I had to lower this significantly to allow for me to take the final high polygon version into Maya to create the low polygon version. This process took multiple attempts, as the percentage of decimation slider was either too high or too low, resulting in models ranging between 1.5 million polygons and 250K polygons. The final model was exported as an FBX model into Maya at 650K polygons, which was within the limits of what the program can handle.
When I imported the model into Autodesk Maya, I was immediately met with issues. In ZBrush, the model appeared to have no problems – I did not have the same shattering/swiss cheese effect that I had during the blocking-out stage and the surface looked undisturbed, but when viewed in Maya, the model had several issues. Around the knees of Compton’s character model and in some additional areas, holes had appeared in the mesh; This was incredibly confusing to determine the reason as to why this had occurred, as the version in ZBrush had no holes and did not use any primitives in tandem with the Live Boolean function in this area that could cause holes to form and visually looked perfect.
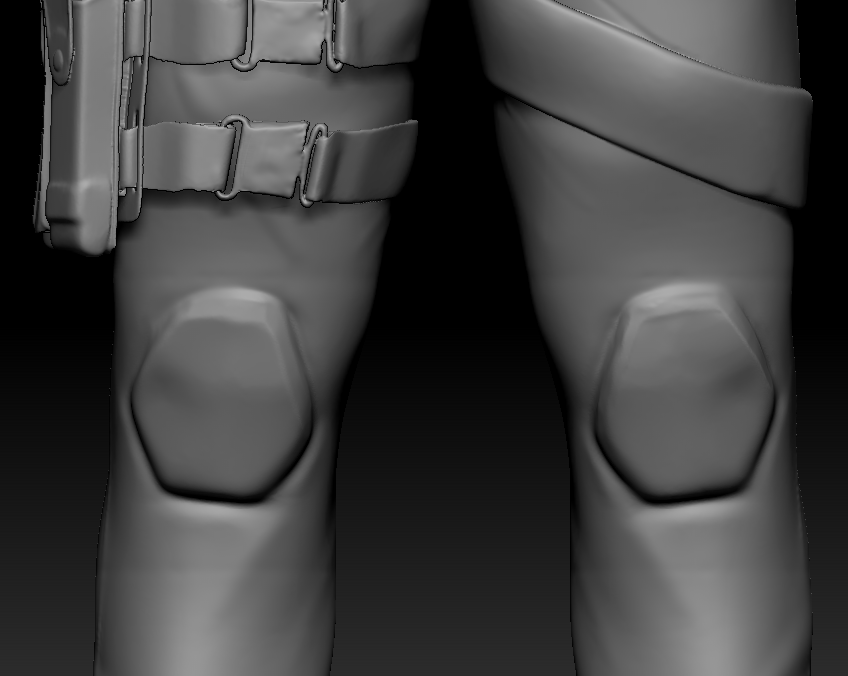
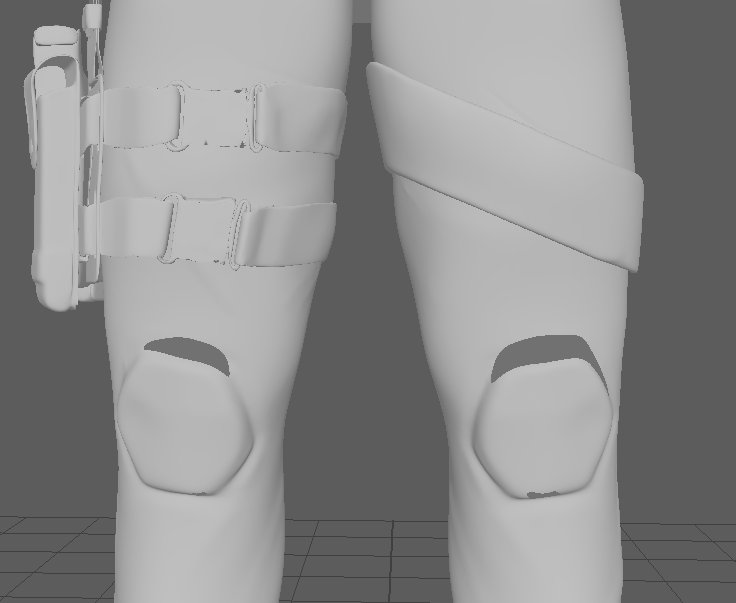
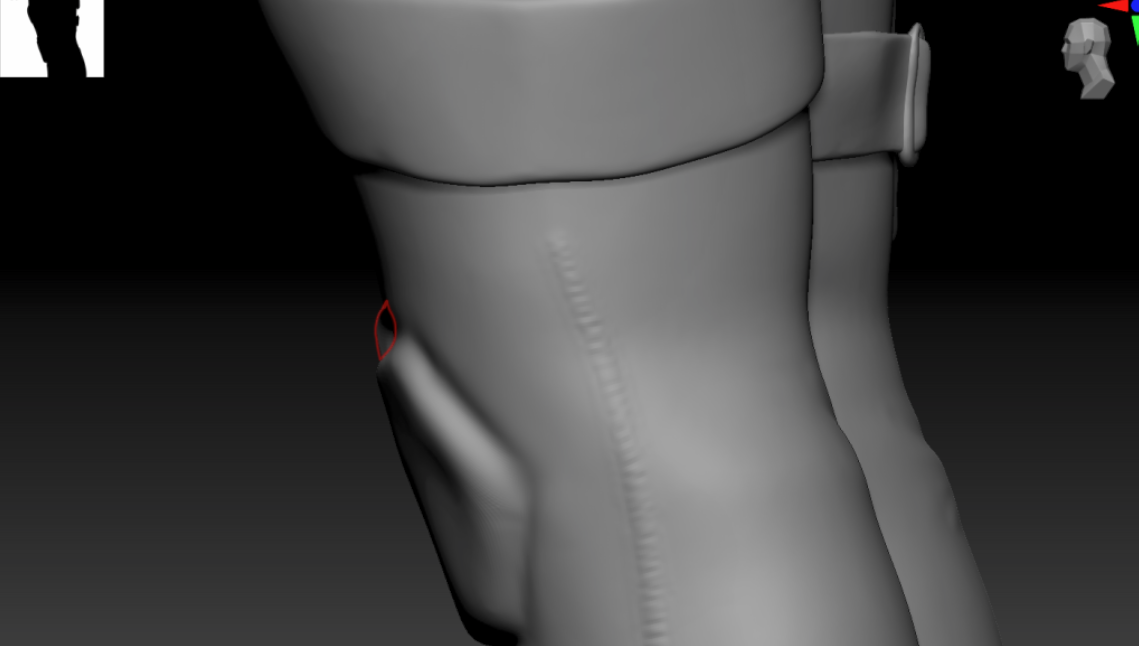
After seeking advice regarding this issue, the cause was found. As the legs for the model were being edited throughout this project, such as using Clay buildup on a lower intensity to create creases and moving the kneepad out, the inside face had been pulled through to the outside. This was only visible when viewed up close and on the side profile of the model, which made it next to impossible to spot when the model is zoomed out and working on a different area. This issue took several attempts to fix, as the only easy way to see whether the issue had been fixed was to re-export the model into Maya, but was ultimately fixed by applying a separate polygroup to the knee section through masking and using DynaMesh at a high resolution to reduce the amount of detail lost.
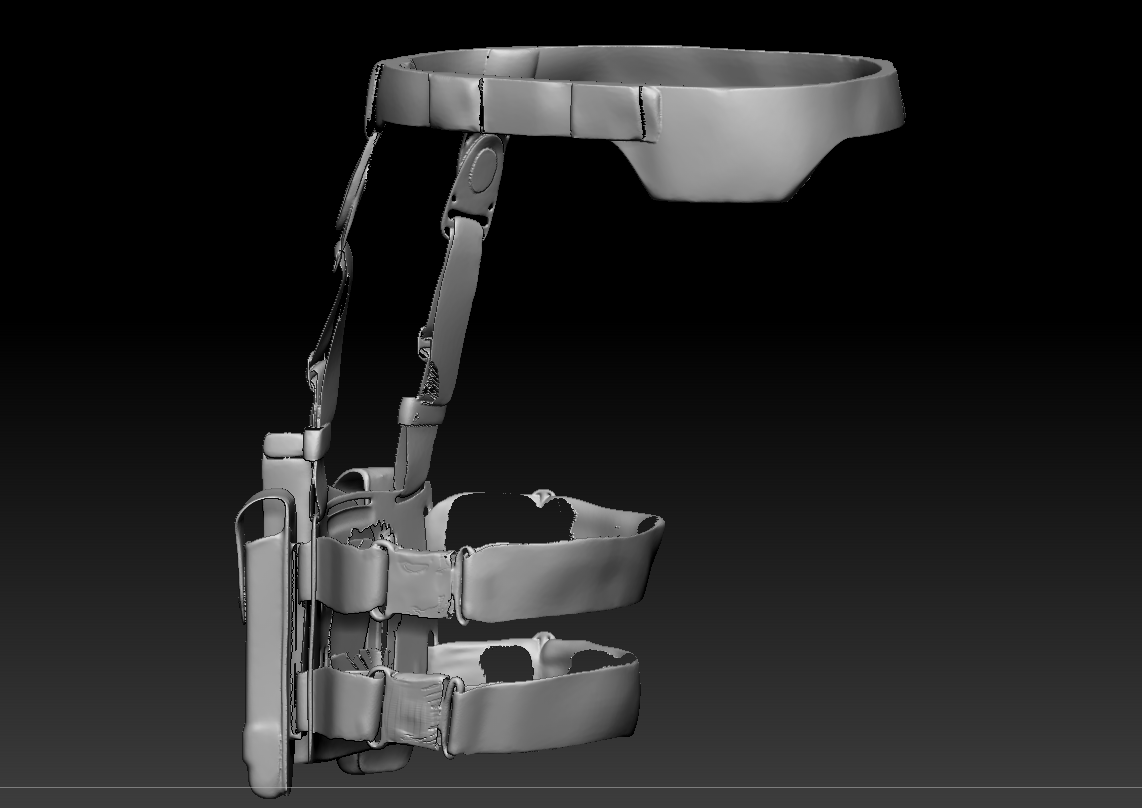
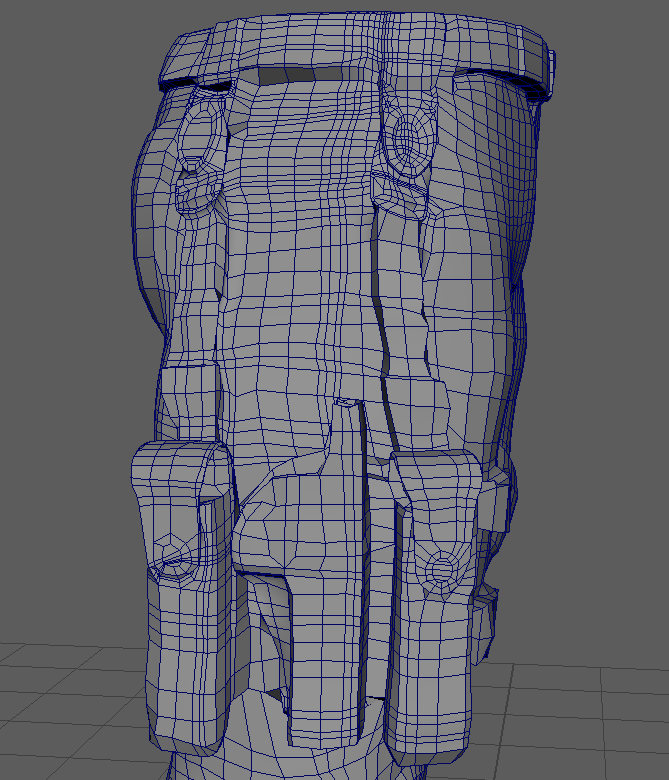
Another issue that I was made aware of when importing my model into Maya was that the Holster that I had applied to Compton’s leg had holes in the mesh. Some of the holes would not be visible to the camera, as the mesh for Compton’s legs would be hiding it, yet others would be which led to fixing all of the holes. Additionally, I used the Inflate brush on the straps of the holster, as the straps were rather thin and could potentially cause issues when during the retopologising stage.
RETOPOLOGY
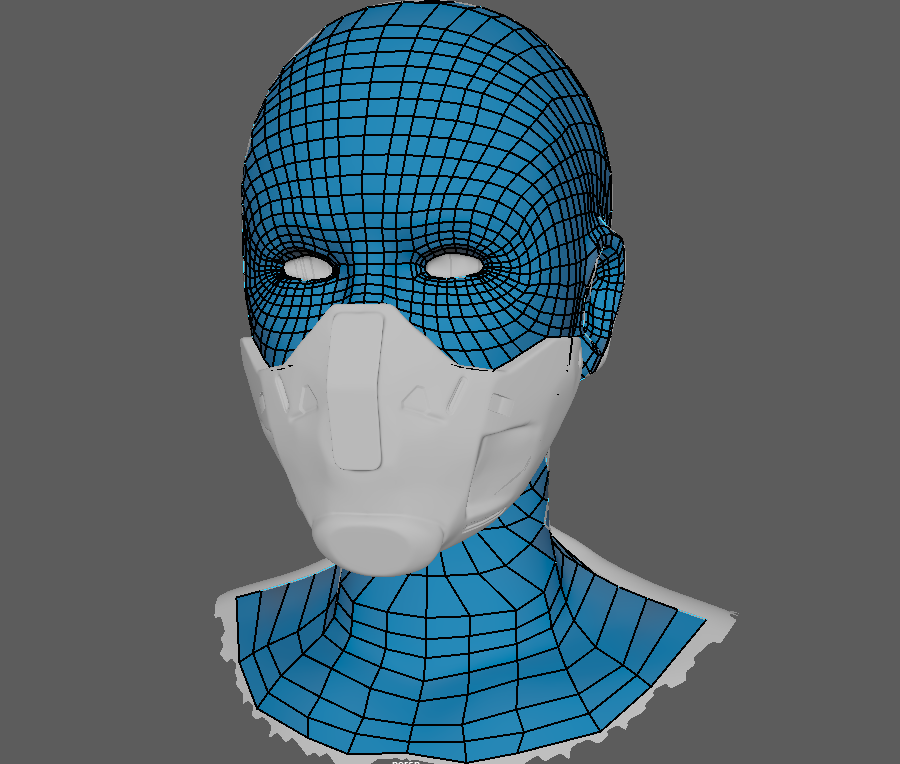
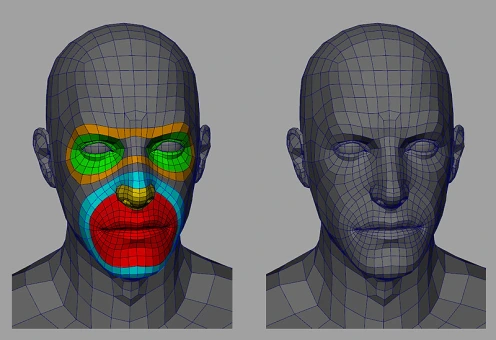
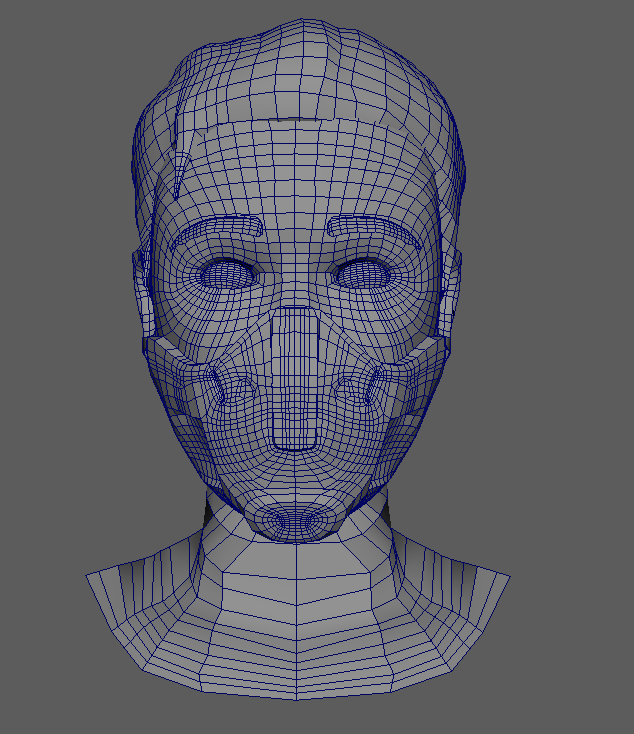
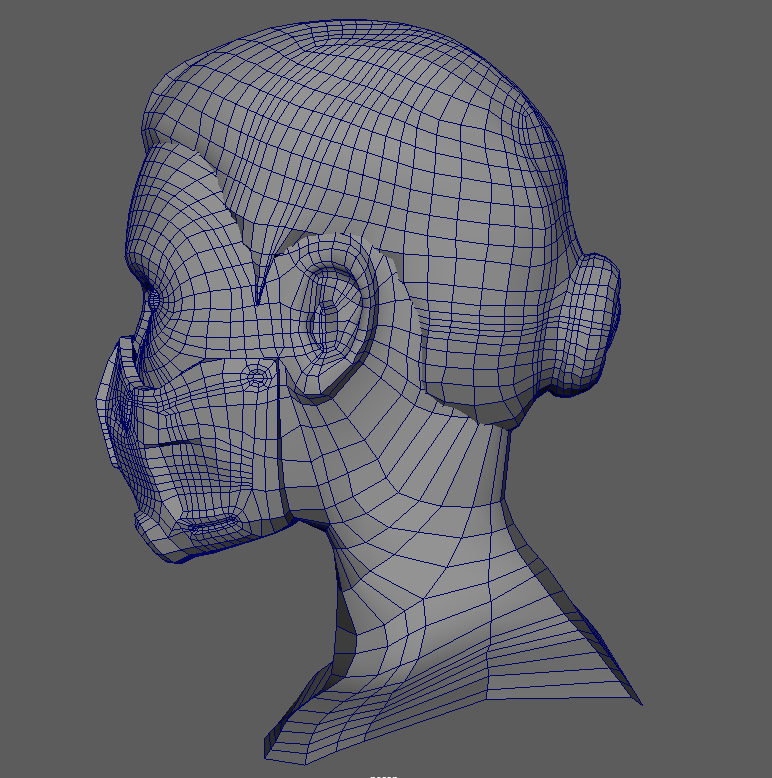
With the now fixed mesh imported into Maya, I could start retopologising it to create a low poly version; This section was relatively straightforward but required a large amount of time in the project to complete. I started retopologising the face first, referencing an image on how to best place the quads to create loops for later animation. This can be predominantly seen around the eyes and further on in the fingers, as these areas would be deformed when rigging the character for animation.
An issue that I had when retopologising was having faces snap to random points in the mesh. Occasionally, this was due to how I had the camera angled, which saw a vertex snap to the other side of the loop that was being created, yet other times would see the face connect to another point further up the mesh or to another section that was not near the origin point. This would also occasionally occur when extruding a loop, which did make some of the retopologising process tedious due to having to repeatedly remove the affected faces in order to fix the polygon surface.

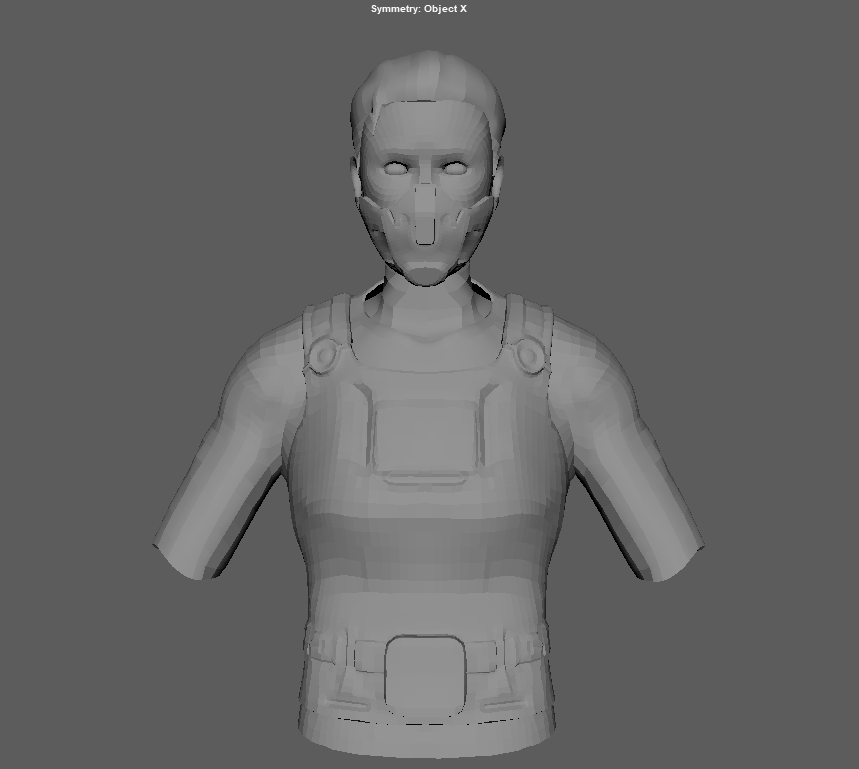
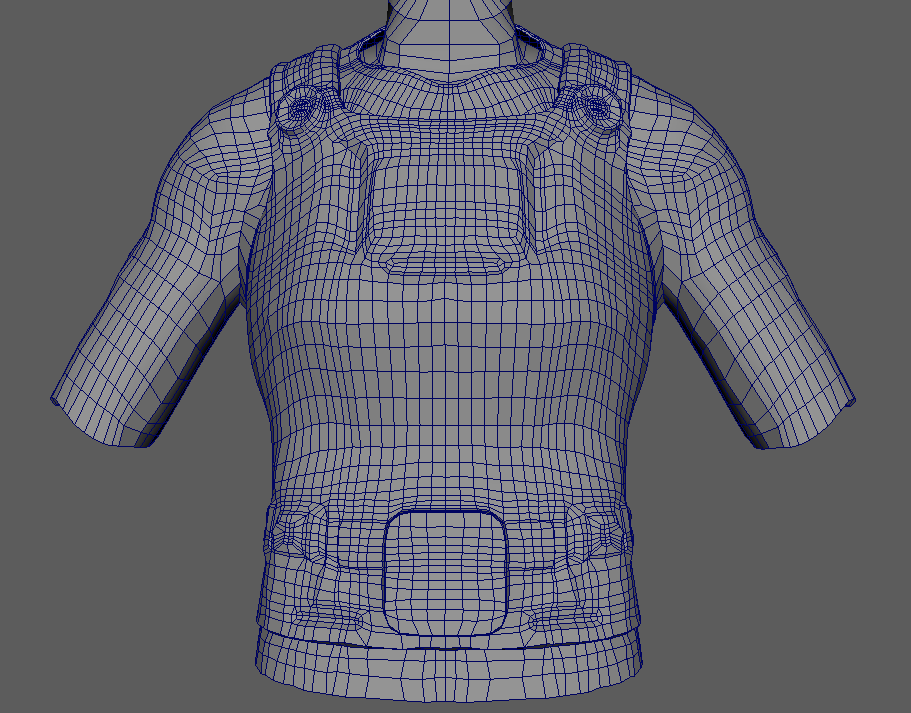
With the head retopologised, I proceeded to retopologise the Compton’s top, which included the body armour merged to the underlying piece of clothing. I started with the shoulders first and worked my way through the mesh. The raised details on the body armour, such as the circular connectors near the shoulders and the belt section were relatively difficult to retopologise based on their shapes but ultimately was successful by creating small loops to retain the shape.
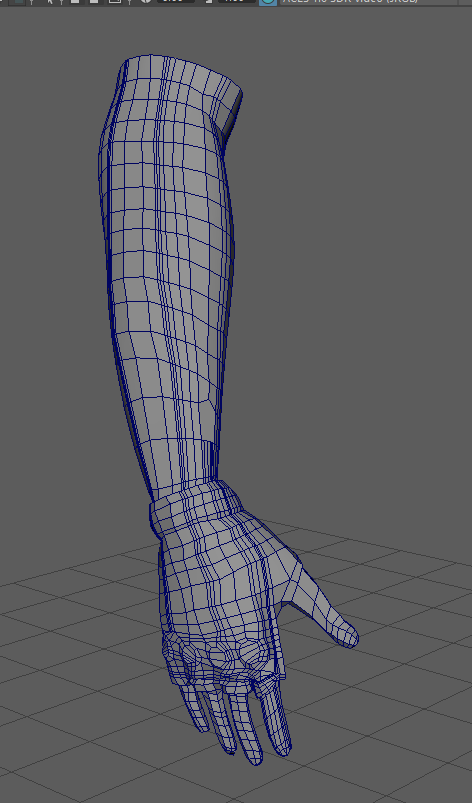
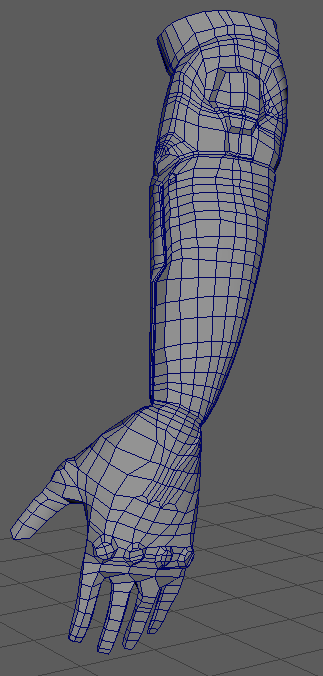
Compton’s right arm was relatively easy to retopologise, as this was the human arm which allowed for loops to be extruded down the smooth surface, whereas the left arm, Compton’s cybernetic arm, required more focus on how this would be retopologised. As the cybernetic arm has raised and indented sections, I couldn’t extrude loops in the same manner as the right arm and ended up retopologising the entirety of the arm by hand to ensure that I could capture the details accurately.
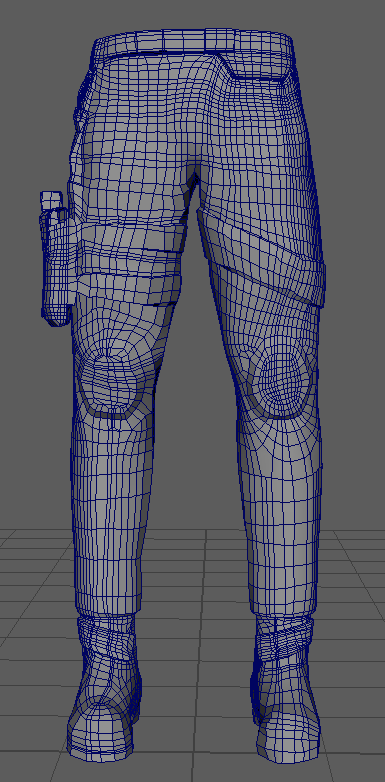
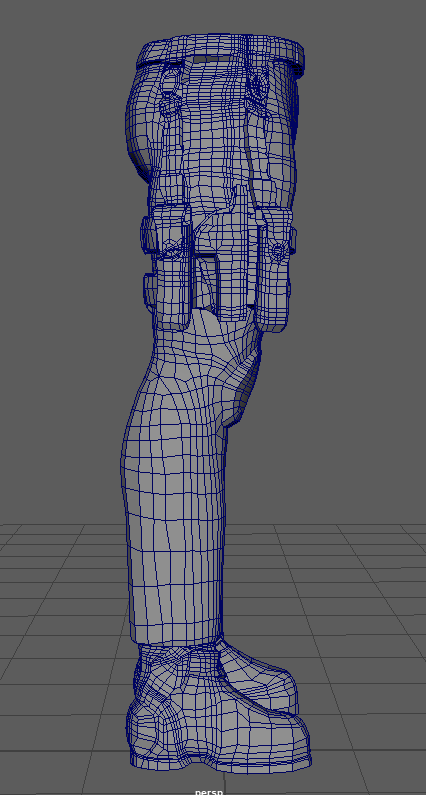
The retopology for the legs took the longest to retopologise due to the complexity of the Holster. Originally when exporting to Maya after fixing my issues with holes in the mesh, I had merged the mesh for the holster and the legs together, and when reaching the retopology for the combined mesh I realised that it would have visually appeared cleaner to keep the two mesh separated. As I still had multiple iterations of my ZBrush file, I decided that I would attempt to separate the two meshes using the Split by Polygroup option and then re-export the meshes back into Maya. This worked, up to the point of pre-processing the meshes for decimation, which is the point that this idea failed. The pre-processing of the two meshes would entirely freeze during the reordering stage, in turn crashing ZBrush.
I tried multiple times to split and export the two meshes with all of them resulting in ZBrush crashing, which led to me sticking with the merged version seen below; During one attempt at exporting, I checked how ZBrush was using the hardware of my computer with windows task manager to find that the ZBrush application was using 0% of my CPU and 0% of my GPU, despite running for several minutes.
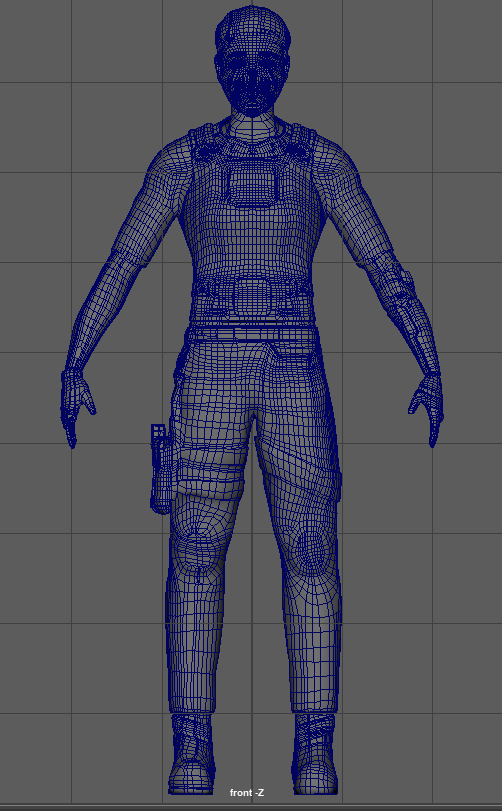
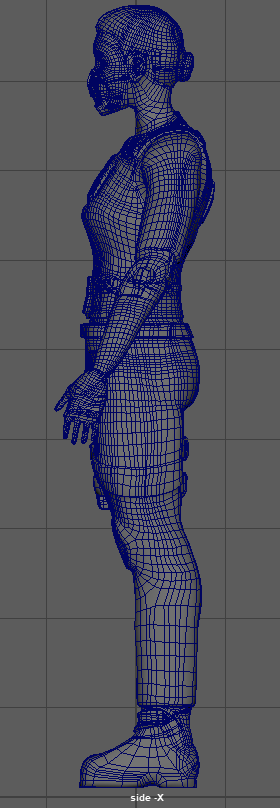
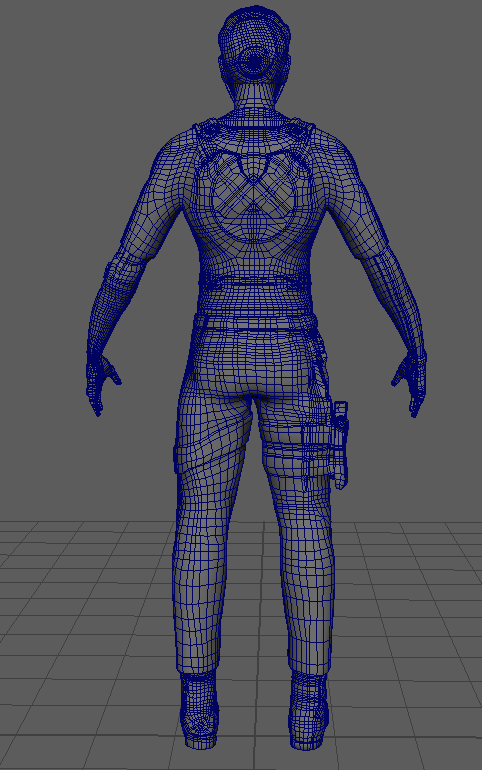
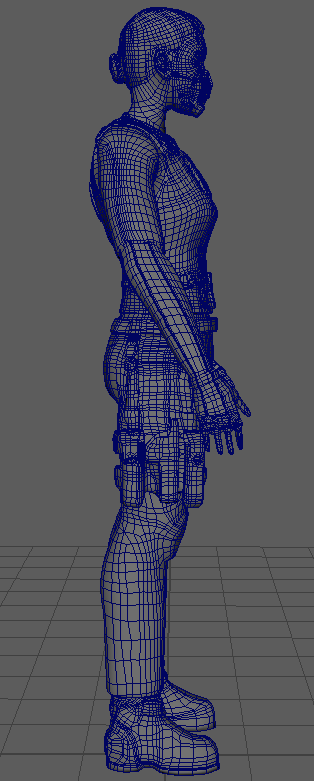
WIREFRAME (FULL BODY)
Referenced Material:
Parker, T. (2011) Tom Parker. Tom Parker. Available online: https://tomparkersartdump.wordpress.com/page/8/