For my character model, I decided to use camera-based UV mapping, as this allowed for a higher level of control of my UV maps in comparison to generated maps created from automatic or planar mapping.
CREATING UV MAPS
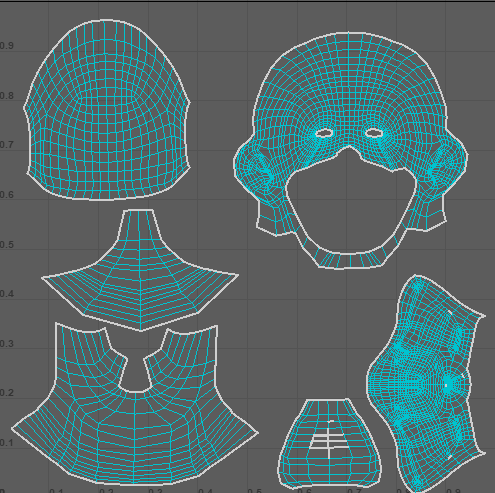
I started to unwrap my mesh by making use of camera-based mapping and then proceeded to use Maya’s 3D cut-and-sew tool to make separate UV shells. This would allow for textures to be applied to the correct areas in Substance with minimal bleed-through to the other areas; As an example, Compton’s head has the mask merged to it, and as both sections require separate textures, creating separate shells was necessary to avoid the possibility of the skin texture bleeding through to the mask and vice versa.
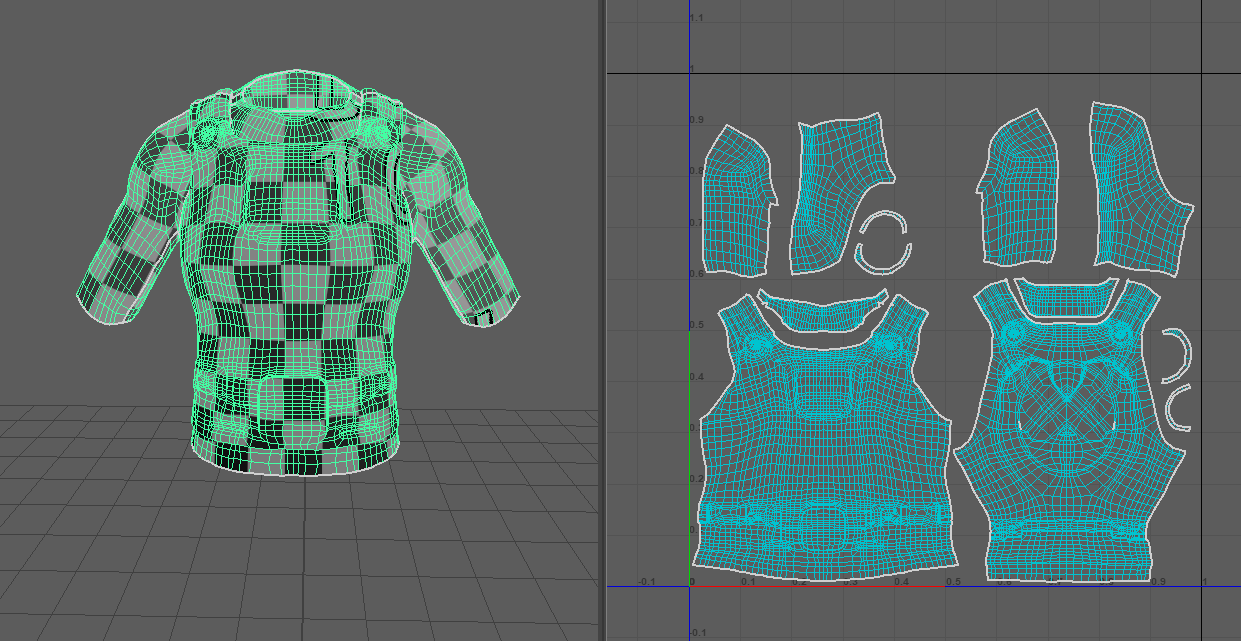
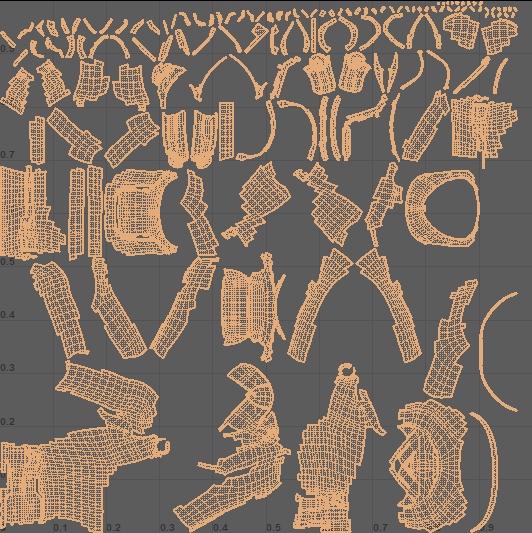
This also worked out well for the top, as the body armour and the underlying t-shirt were also merged together and required separate shells for texturing. The seams were placed in areas that had limited visibility in relation to the camera, such as underneath the arm and along the edge of the body armour to avoid noticeable texture stretching. In addition, using camera-based mapping allowed for me to create a UV map that had a layout that made sense in regards to the model; As seen in the image below, the front and back sections of the sleeves are placed at the top of the UV map and the body armour is also split into the front and back sections, whereas if I had used automatic mapping, the mesh would have been split into smaller pieces that would be hard to identify what section they originated from.
ADOBE SUBSTANCE PAINTER
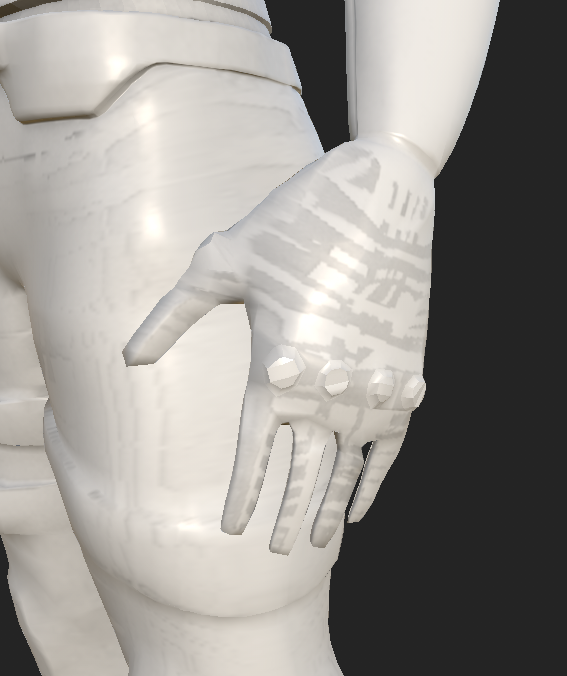
With my model retopologised, I was then able to take it into Adobe substance painter to texture the model. As the low poly model had less detail on the model due to it being composed of significantly fewer faces, I used my high poly version to bake the details onto the model. When I baked my high poly model onto my low poly model, the pattern seen in the image below was applied to certain areas of the surface; This was confusing, as the model did not have this in ZBrush and did not have this when initially importing into Maya before retopologising, but I was partially able to hide it through texturing.
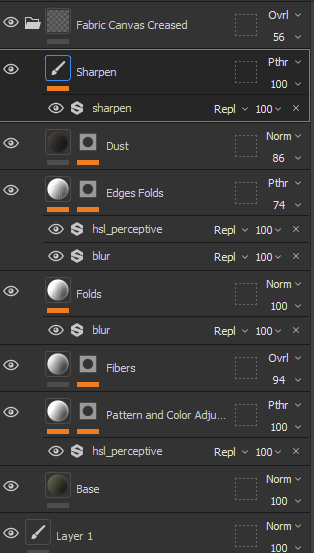
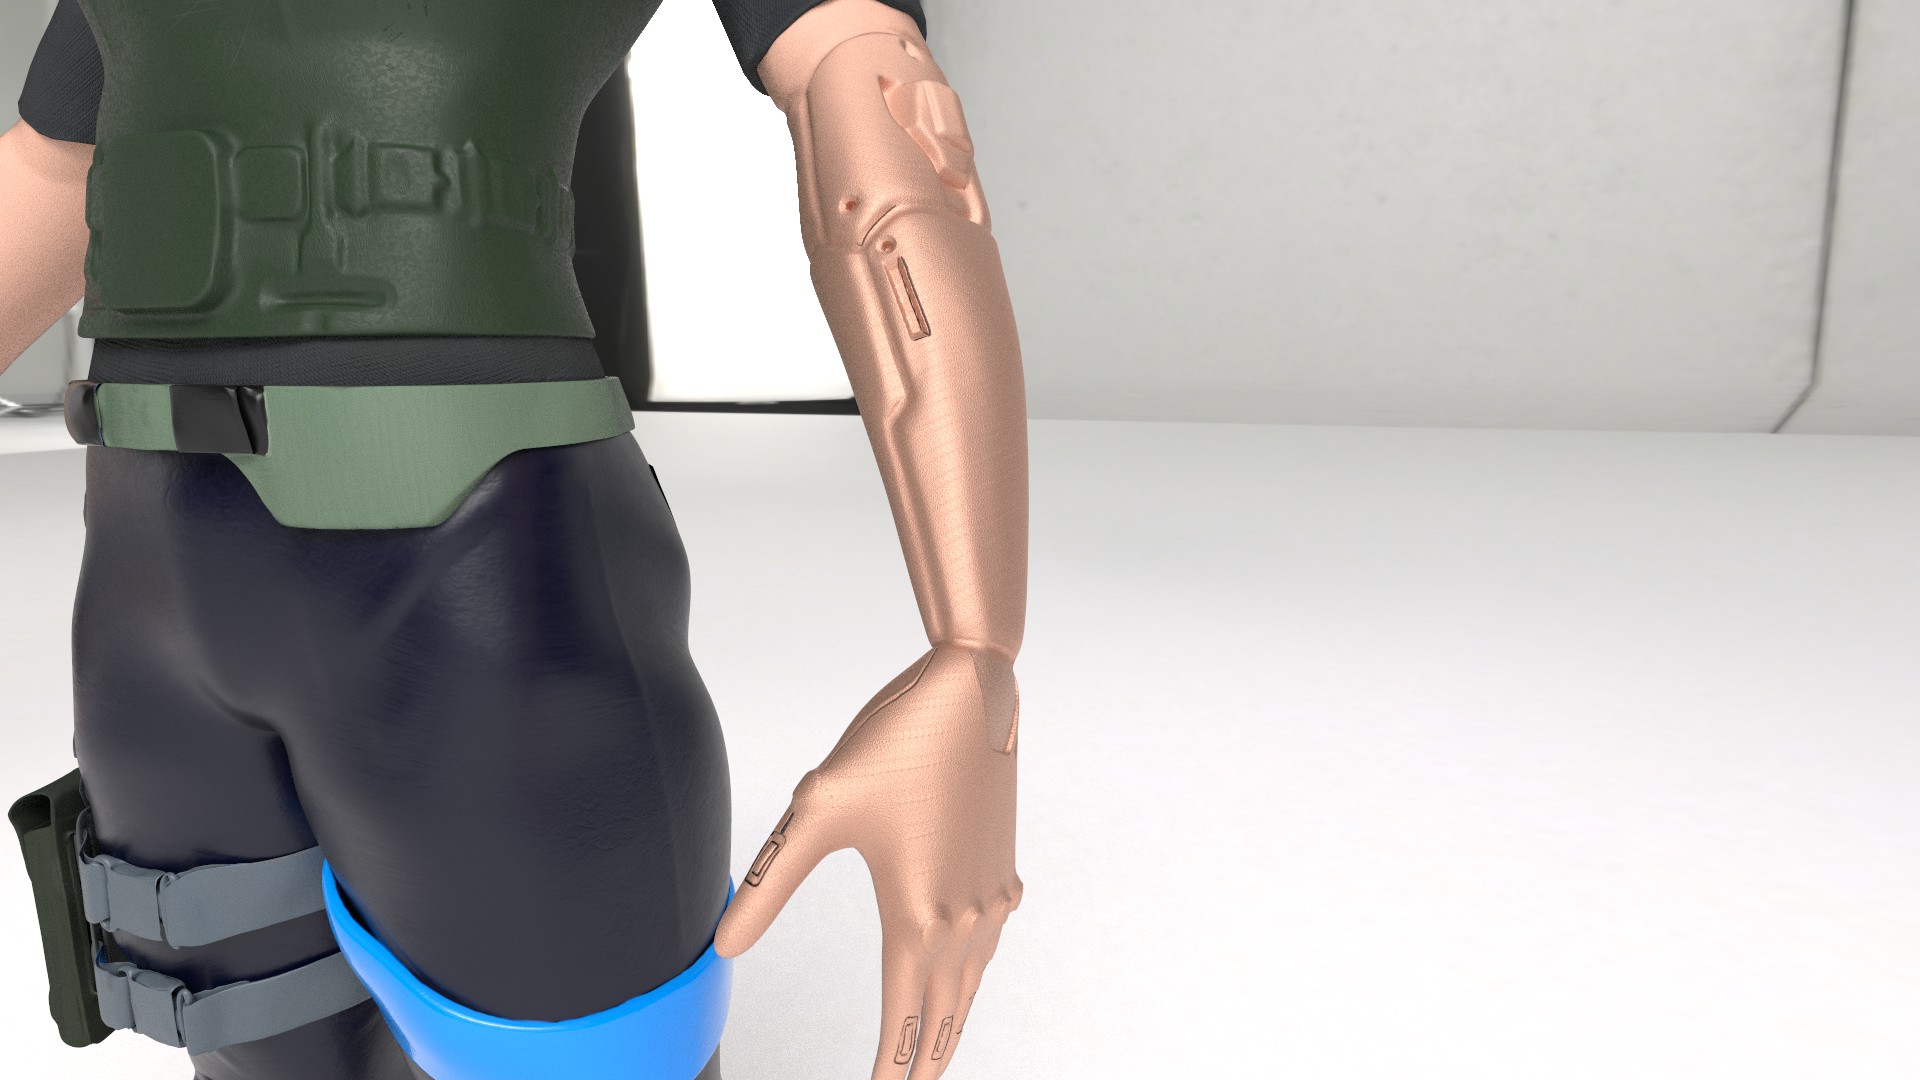
I opted to predominantly use the materials that could be applied to the brush over the smart materials that could be applied to the mesh, as this felt similar to the PolyPaint function in ZBrush and how I would texture within that software. I did use some of the smart materials, namely the fabric materials and experimented with the intensity values and blending modes and overlayed them with other materials to create the desired effect for certain sections; This can be seen in the still of Compton’s cybernetic arm, which uses the skin materials that could be applied to the brush and uses “Aluminium Brushed Worn” layered underneath to achieve the slight shine to the surface, creating a difference between the cybernetic arm and the human arm. I wanted to remain relatively accurate to the concept art that I had created, but also show that there is a difference for that arm and that it is not human.