I could now start to create the 3 animations. I want to preface that at this stage, I was met with significant issues in Maya which meant that the outcome of this project has been affected.
IDLE
Firstly, I imported the reference video that I had created into Maya so that I could reference it without having to enter split-screen mode. Additionally, I made use of Maya’s autokey feature, as when I was familiarising myself with Maya’s animation, I found myself forgetting to press “S” to set the key.
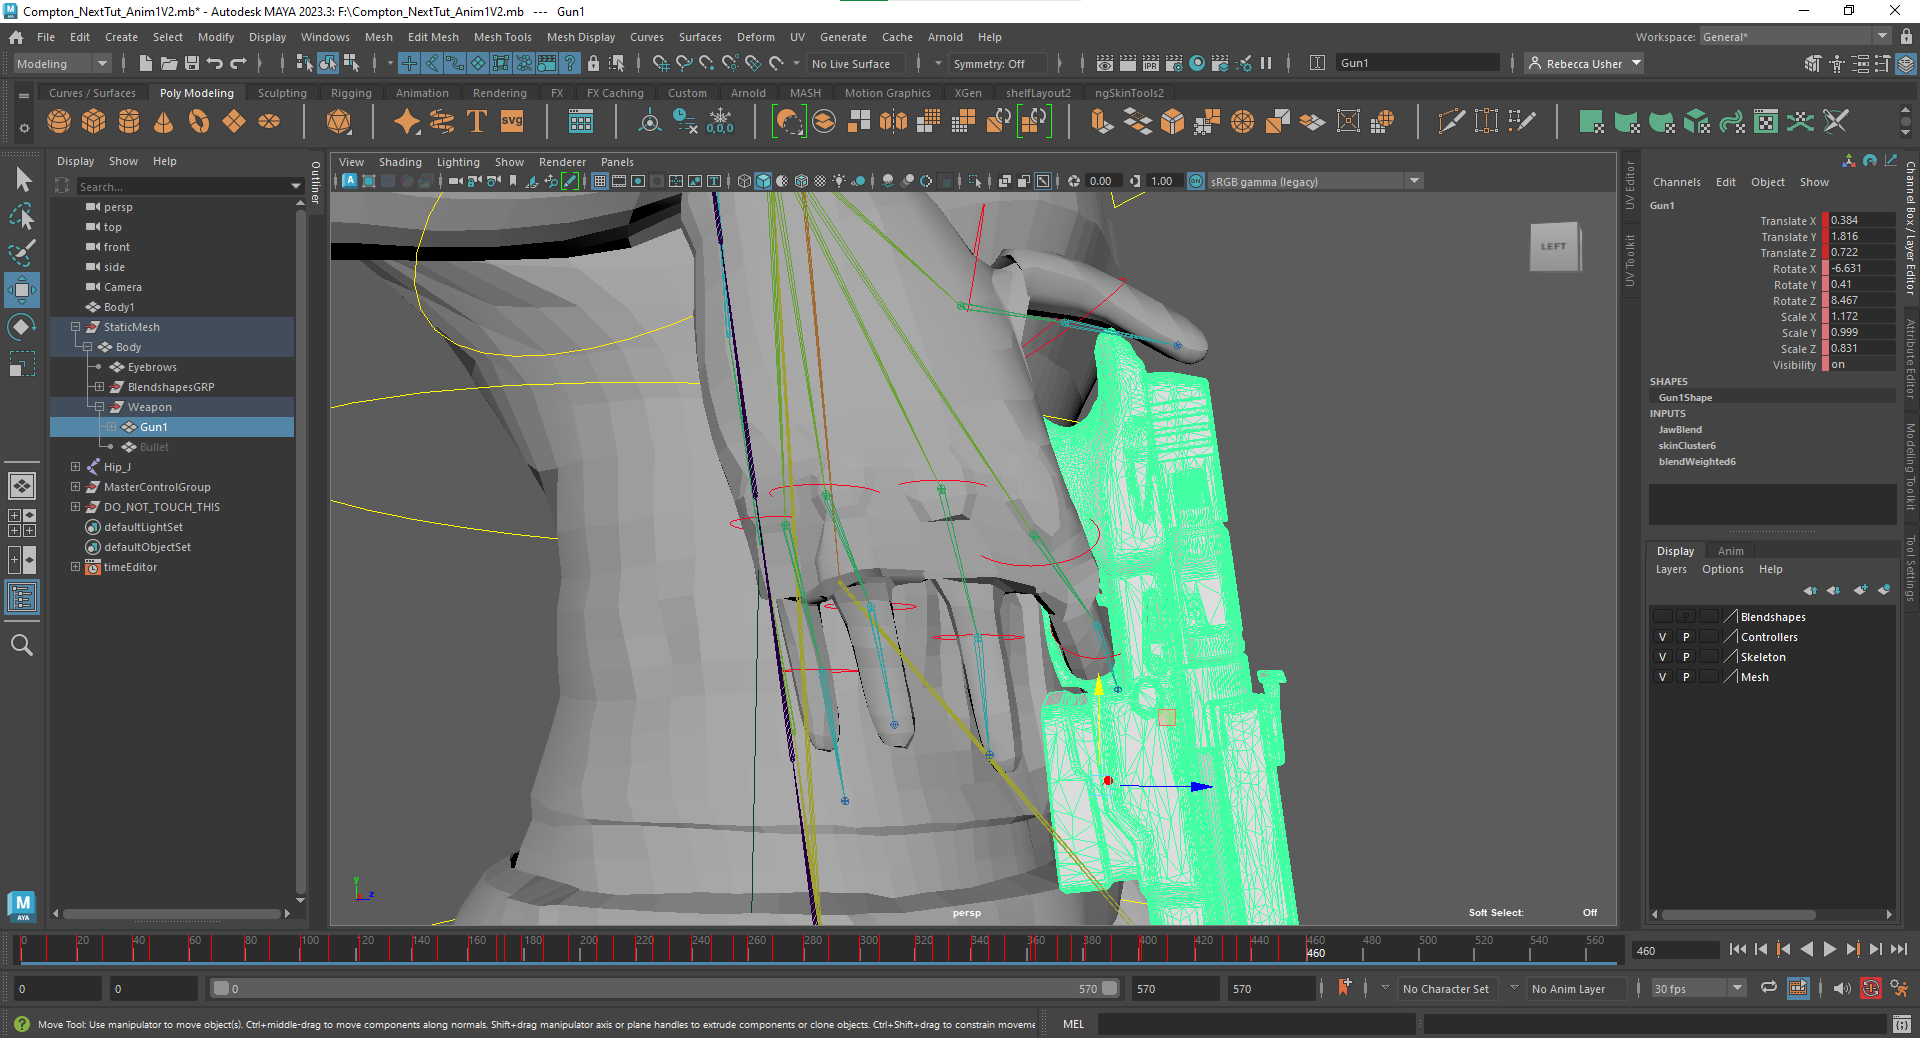
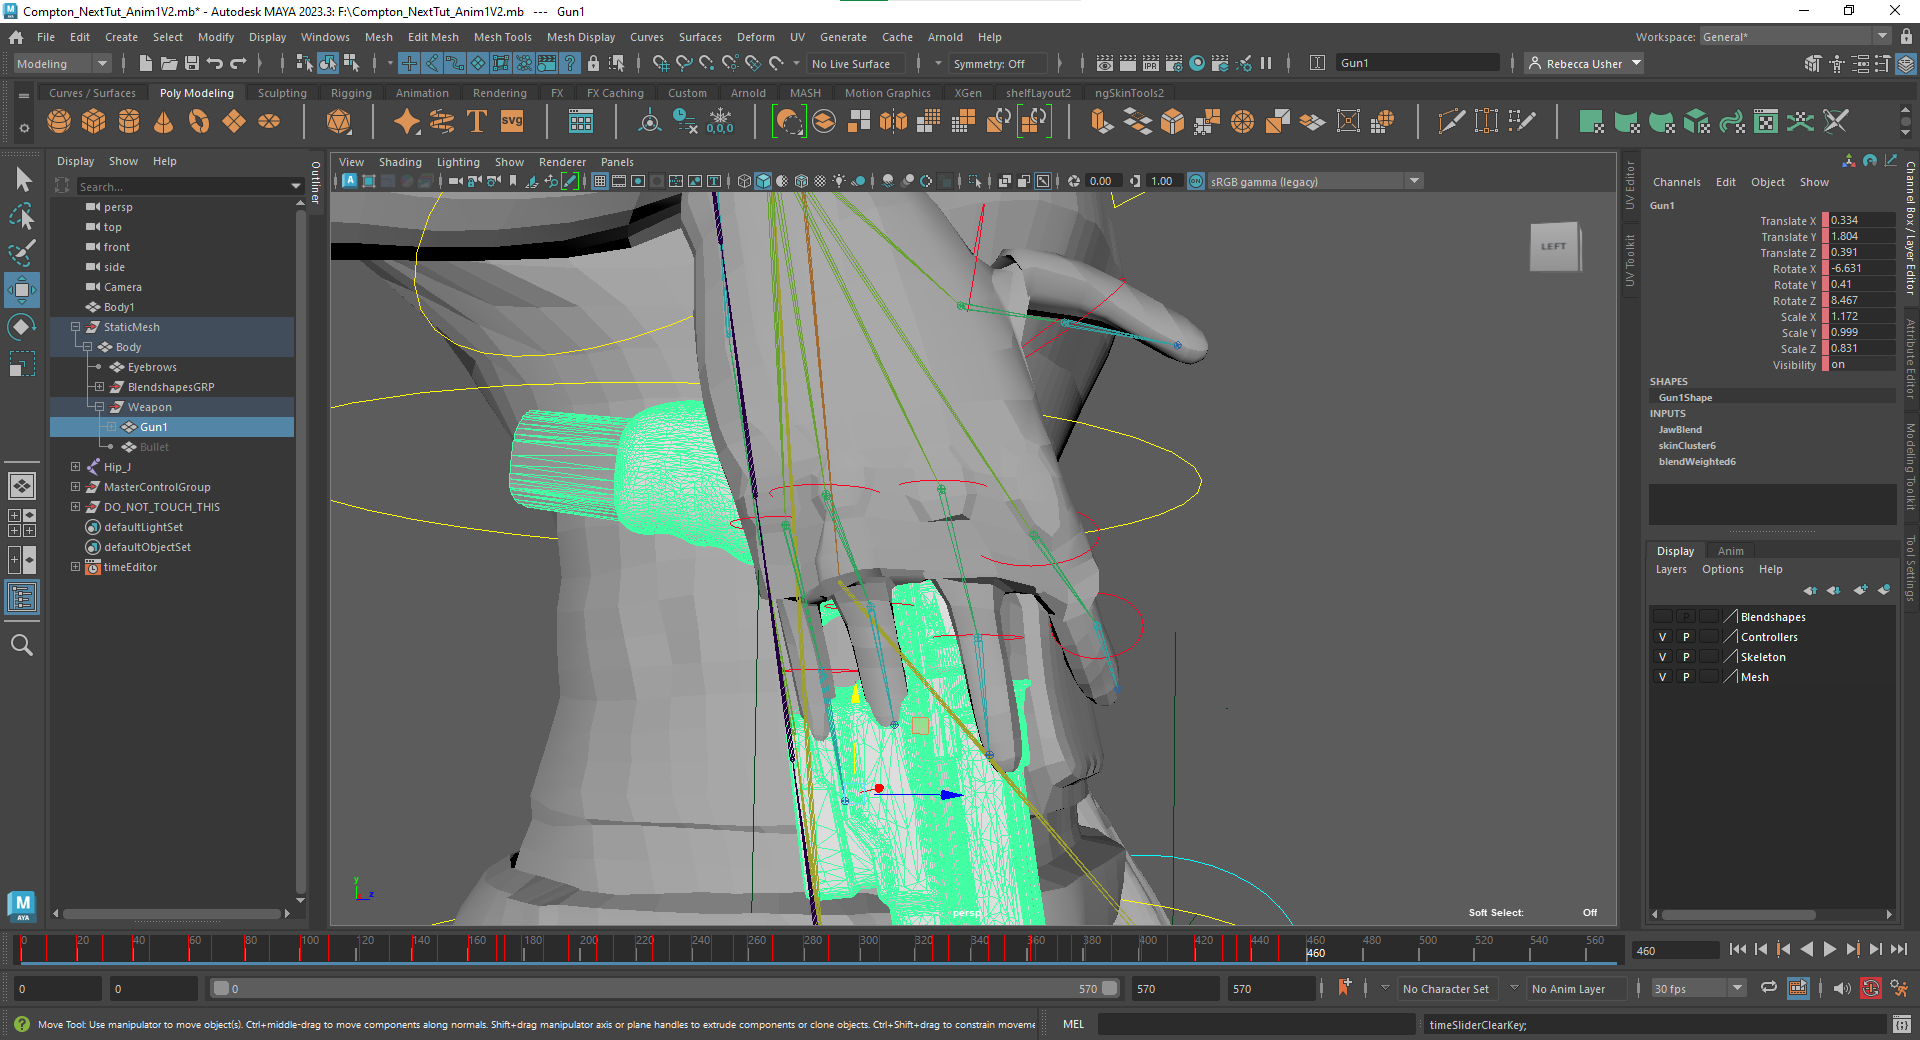
To incorporate secondary and overlapping actions, I made the gun wobble in the holster whilst my character is moving and included a slight swaying of the weapon at the end of the animation, as the gun wouldn’t be perfectly immobilised and would have small movements.
One issue that I had was that Maya’s auto key stopped working, and unfortunately, I did not realise until I was nearly finished. The translation of the gun model hadn’t been saved, despite the animation timeline having a red line to indicate that a key had been made. This was annoying, as this impacted the time planned and meant that I had to redo all of the gun positions.
VAULT AND TAKEDOWN
I had an issue with the first part of the animation, which forced me to restart. I started to block out the initial run and allowing for Maya to interpolate between the frames; Upon reopening the file to work on the vault, my character was broken entirely – sections of the mesh were stretching, creating massive spikes coming out of the mesh.
Once I had completely remade the run cycle and had blocked in the vaulting animation to follow it, the next section was to work on the takedown. I wanted to use a character mesh that my character would interact with rather than a capsule, as I had decided to expand the sequence further through the addition of ground-and-pound and having a character mesh would make the punches have more impact.
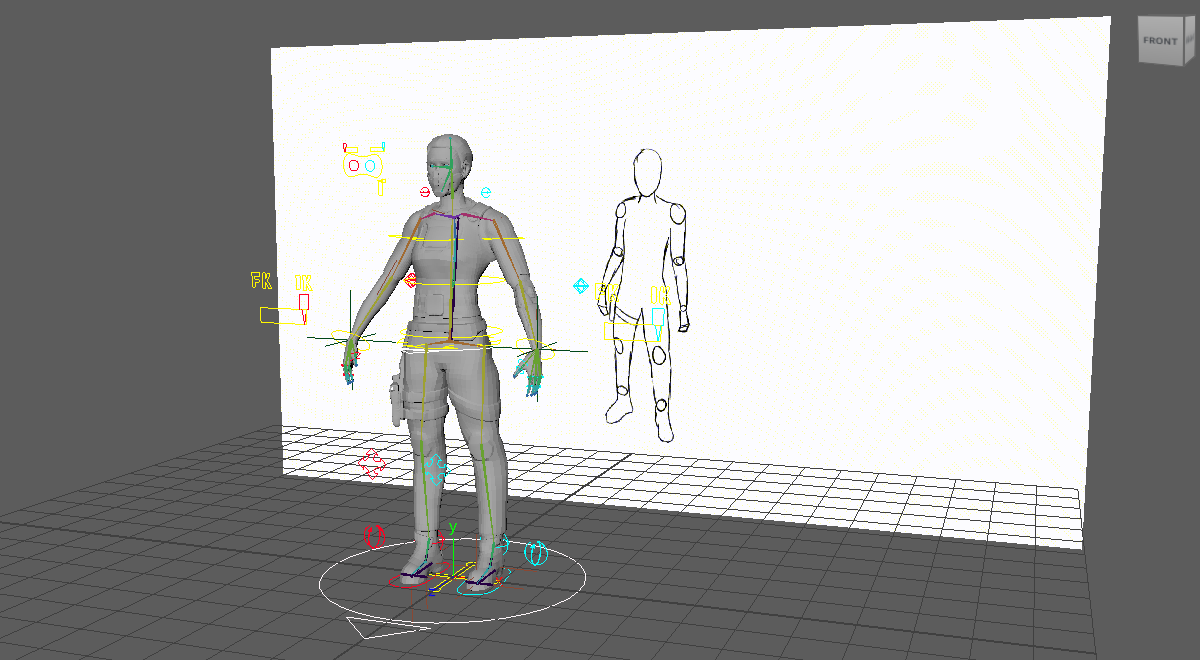
I opted to use Maya’s quick rig as a way to quickly have the model able to move. This saved me time, as I no longer had enough time to create another rig with weights, which would have been the best option if I wasn’t working under a time constraint.
With the secondary character now able to move, I started to key in movements that make it look as though the character was reacting to the takedown. I made the body bounce on the impact and had the head react to the punches by keying set angles to reduce the interpolation, helping to sell the weight of the punches more.
PUSHUPS
To achieve the exaggerated timing of the one-arm push-ups, I used fewer frames to make the animation feel quicker than the starting and ending sections.
I had to alter the position of the camera. To fully capture the animation, the camera needed to be positioned on a side view rather than head-on. This was an issue, as there were deformations in Compton’s legs that weren’t visible when viewing it head-on. To counteract this, I applied stretch to the legs as much as possible which seemingly fixed the issue and then used forced perspective to make the position appear natural.
One issue that is noticeable is when swapping between IK and FK, the hand rotates 360°. I was mindful to match up the positions in an attempt to lessen how noticeable the swap was, yet is still fairly visible.
SIGNIFICANT ISSUES
With all of my animations now completed, the final step was to render the animations out. As I had used Viper before during my first year with success and still had access to the VPN to join the render farm whilst off-campus, I installed the latest Viper shelf.
I followed the guides posted on Canvas on how to set up the Viper shelf. Upon opening Maya, this was entirely different – I was instantly greeted with the script editor displaying errors, the top bar of Maya reduced down to MASH, Arnold and Help with no other drop-down menus and the workspace wasn’t responsive.
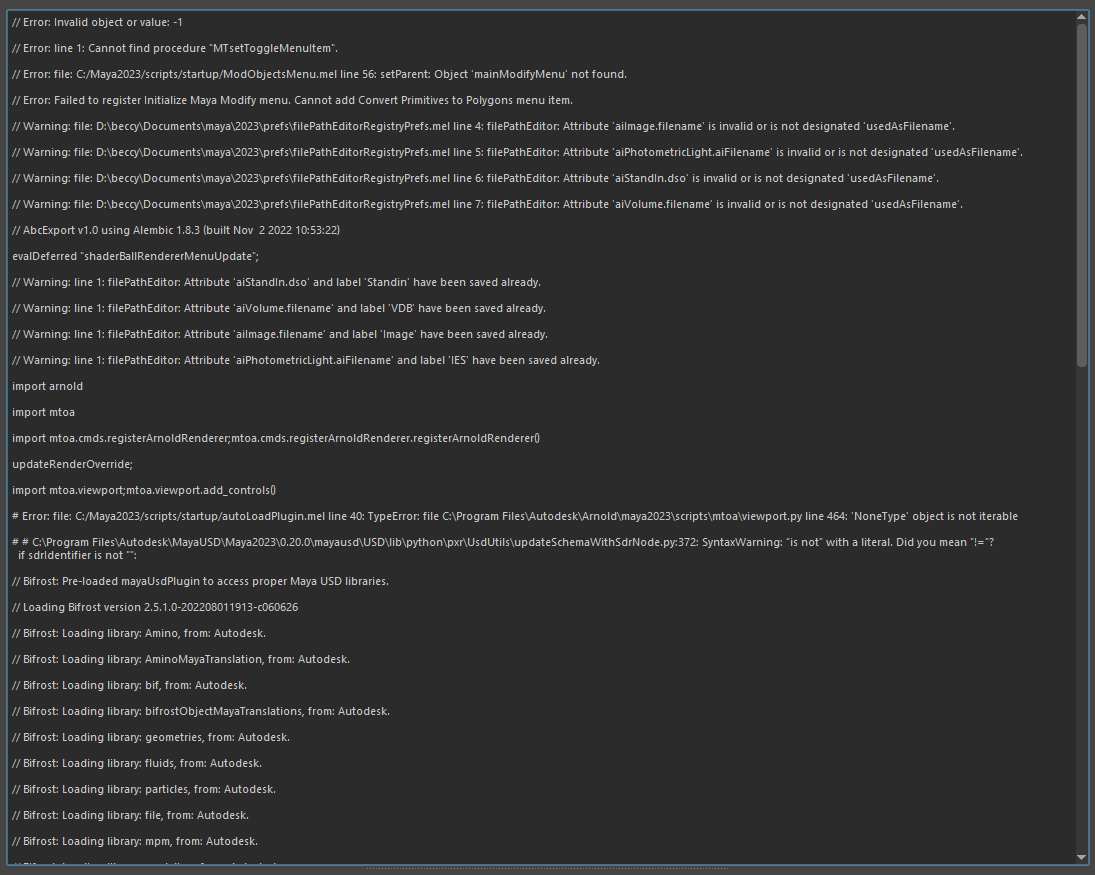
Upon further inspection, I noticed that there were duplicate errors, with both errors originating from the same location. When going to the location, I found two identical copies of the files that Maya uses. There were two sets of the “2023” folder, two sets of the “prefs” folder and so forth.
I uninstalled all files relating to Maya and did a clean re-installation, as I had no idea how to fix the issue. Once Maya had finished reinstalling, I checked that my animations hadn’t been affected and started setting up lights for rendering.
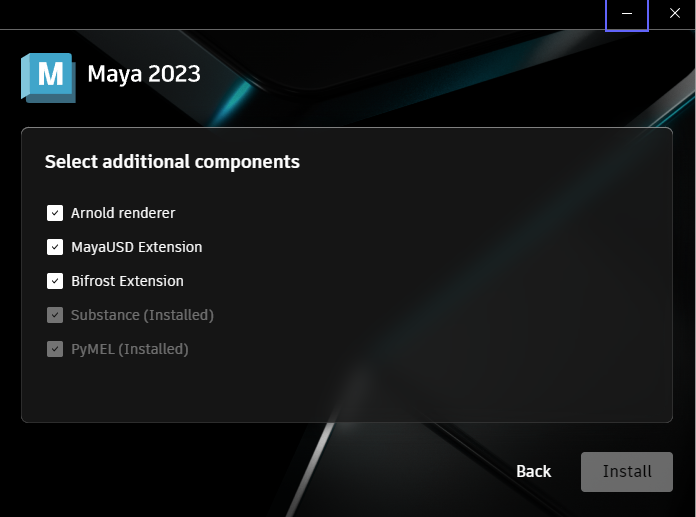
This led to my second issue, as I couldn’t view my model inside of Arnold at all; I was incredibly confused at this point, as the program had just been installed. I went back into Autodesk’s app to check for software updates. This is where I found that Arnold hadn’t been installed and was on the list of things to install with the update, despite everything in the list when reinstalling it being selected.
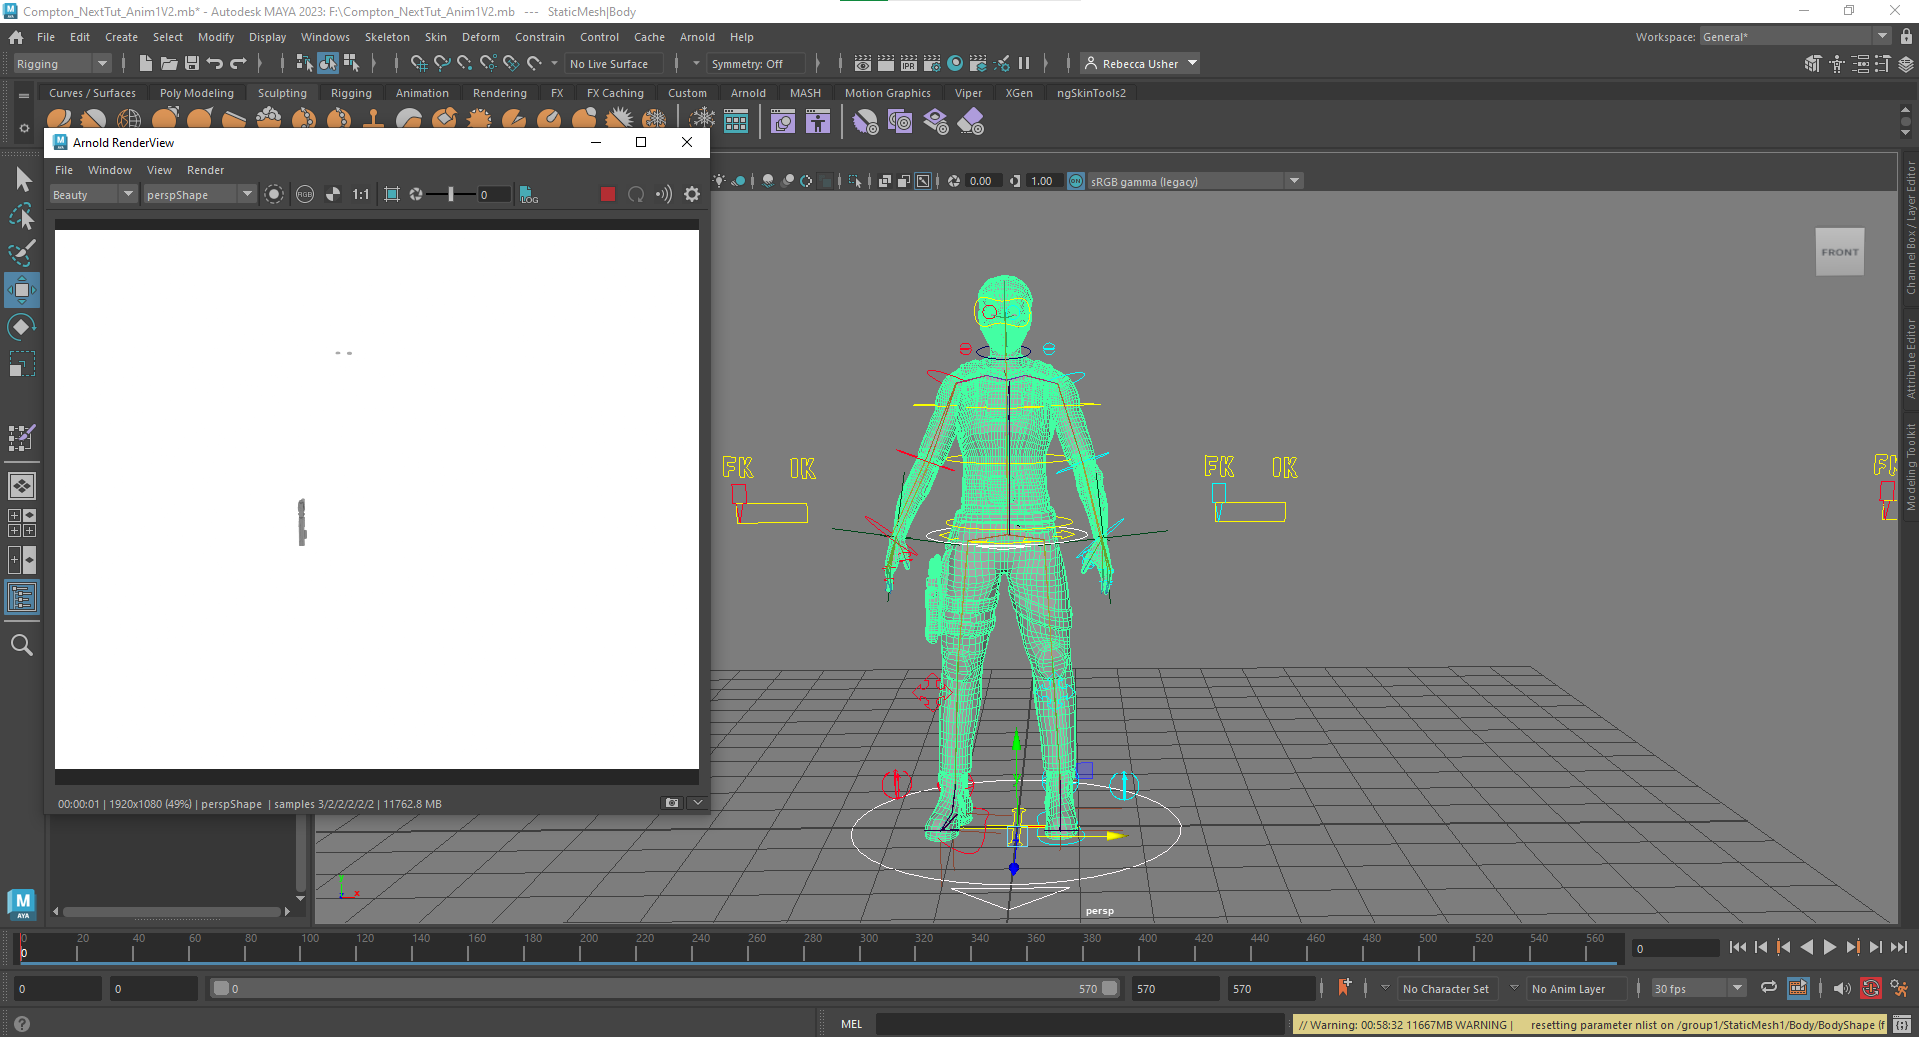
Once I had fixed that issue and reinstalled Viper, I once again prepared my scene for rendering. This led to my third issue, as my character model didn’t appear in the rendered view – only the eyes and the gun appeared rendered. I checked an older version of my rig to find the exact same issue; I tried unbinding and rebinding the skin, exporting and importing the weight map and changing the normals to set to face in an attempt to fix this issue, all with no success.
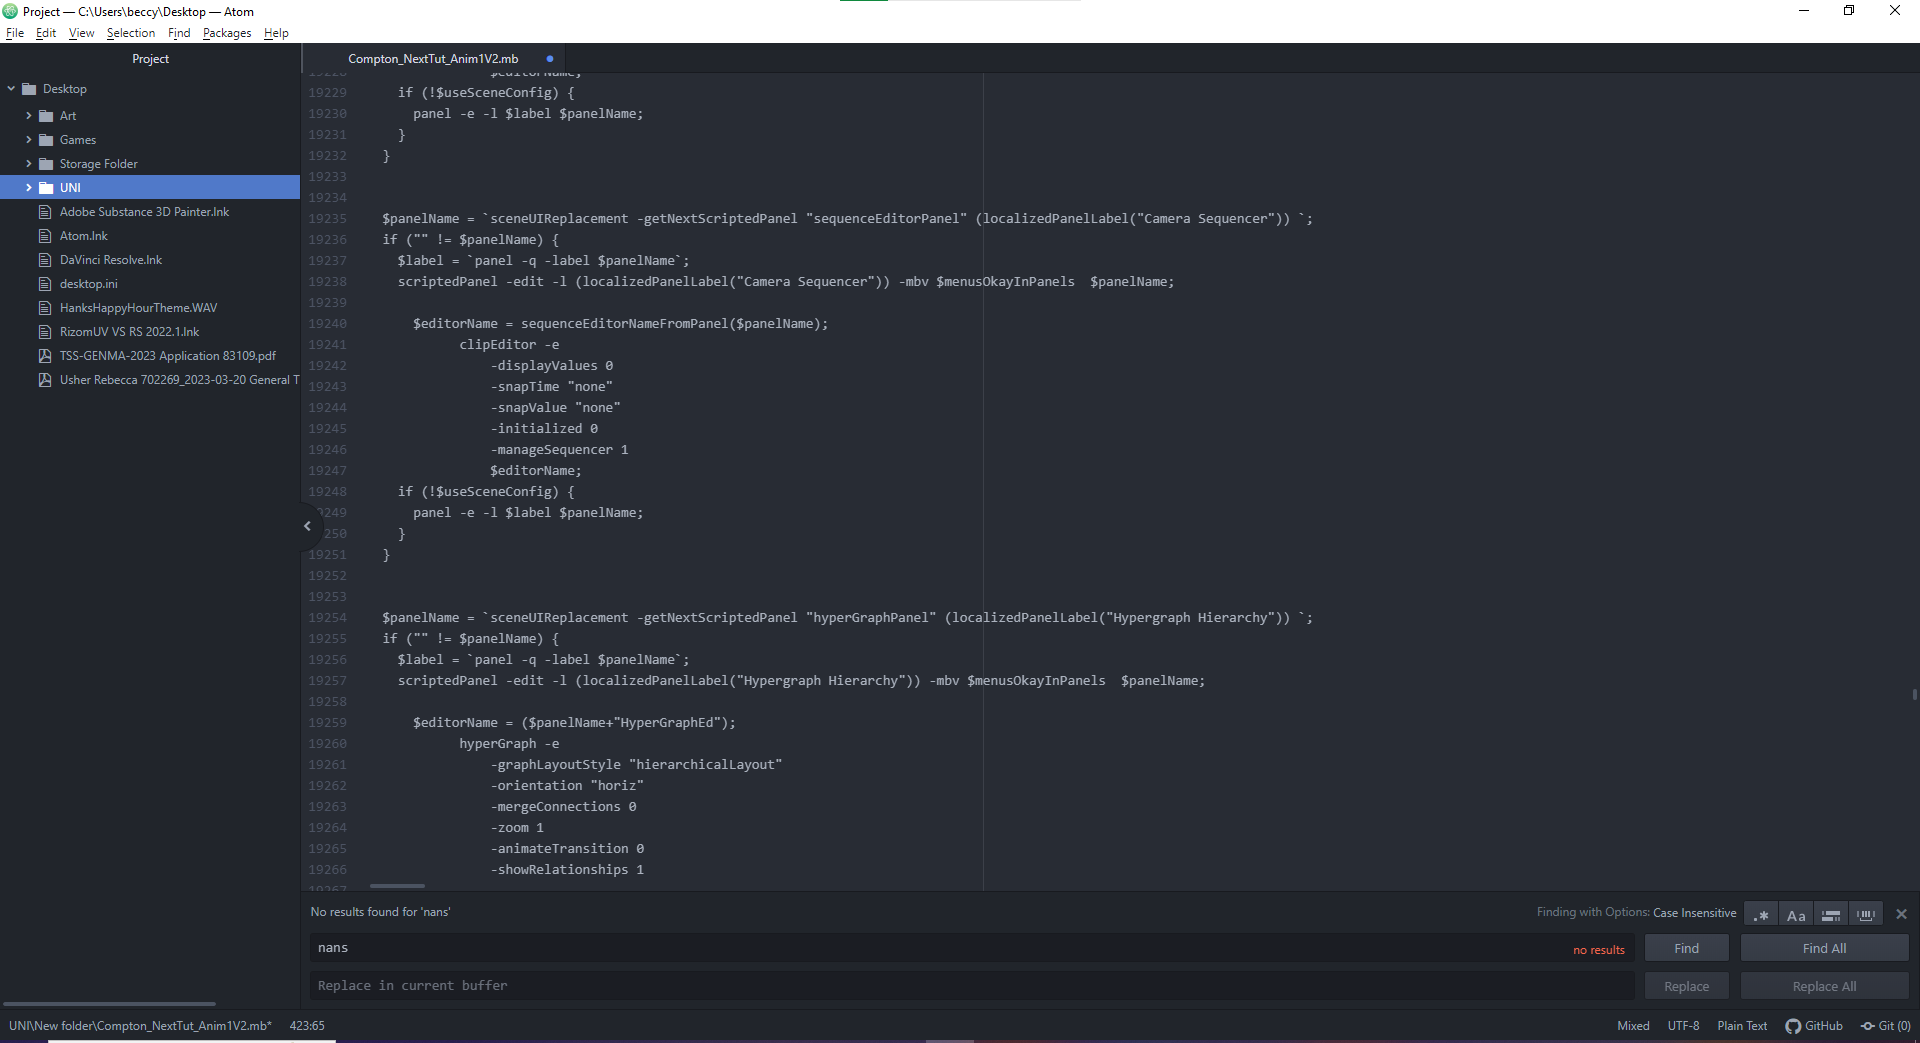
My next step was to seek help from Staff, as I had zero ideas where to take this issue next and how to proceed if I couldn’t render. I received a blog post that talked about the same issues that I was having, and how to fix Maya stating that it had found “nans or infs” by replacing it with a value of 0. I opened the Maya file in Atom, a script editor that had been recommended by another tutorial on how to fix this issue. Even with Maya stating that it had found “nans or infs”, when searching in Atom for both of the terms and any variants, I received no results in the file data.

I went back to Staff to see if there is another way that I could render out my animations. I was made aware of rendering with Maya software, which wouldn’t look as clean as rendering with Arnold, but would at least provide me with animations. In the end, I opted to use Maya hardware 2.0 to render, setting it to render at HD-1080.