CREATING A 360° SCENE IN MAYA
As a part of the Emerging Technology module, we were instructed to create a 360° scene in Maya in order to gain an understanding of how 360° rendering works within Arnold. I have experience with creating 4K stills within Arnold and setting up cameras and lighting, but have zero experience with 360° rendering.
SETTING UP THE SCENE
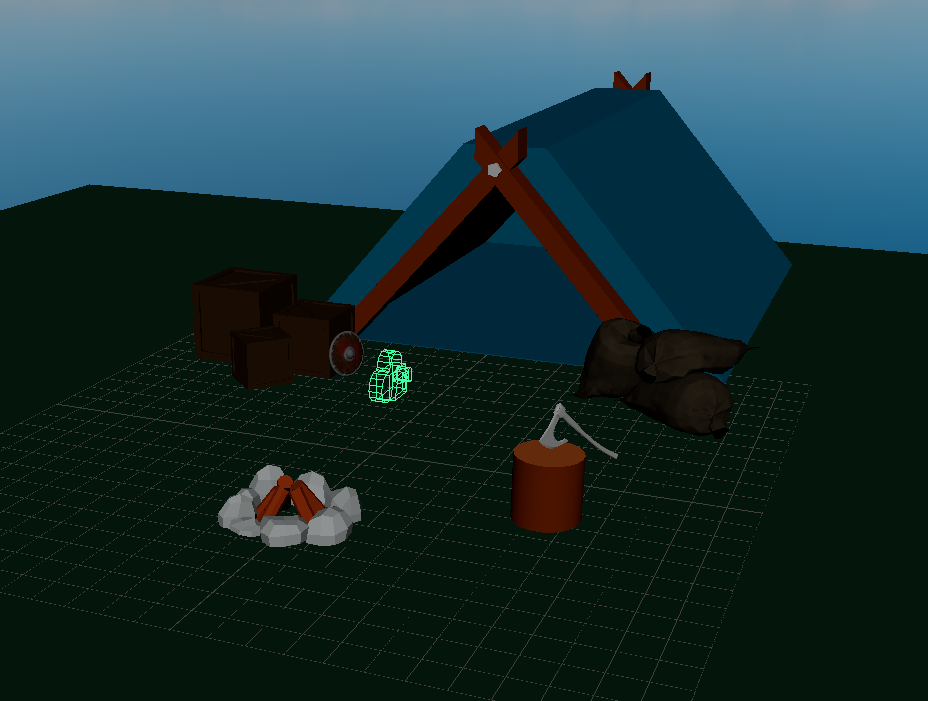
I decided for my scene to make use of some of the props that I had been creating for the Major Project module. I thought that this would provide more visual interest to the scene rather than filling it with standard cubes and cylinders with a lambert material applied. Additionally, these props are all have a low poly count, with all of the props having less than 1000 faces in total, which is imperative for VR work based on the technological limitations of the headsets.
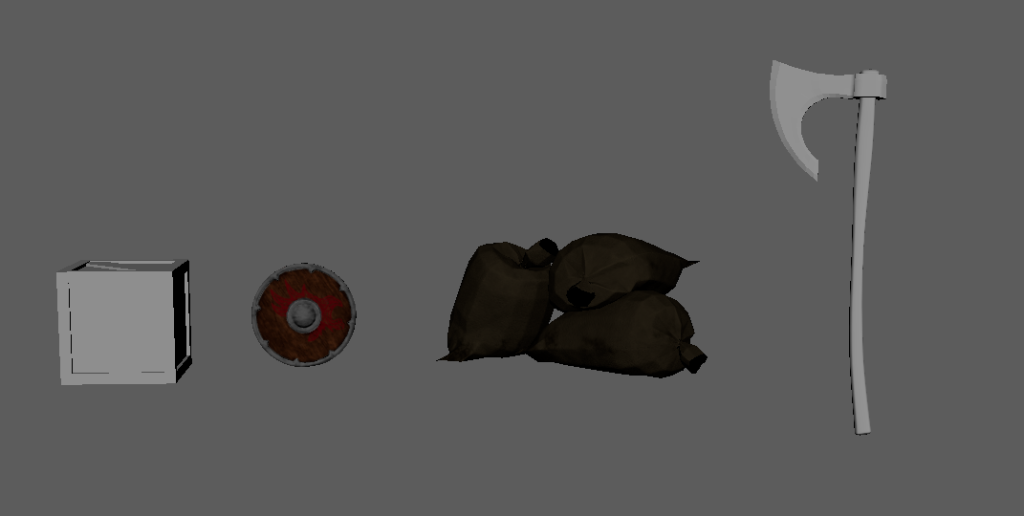
As my major project is based on Vikings, I decided that for this scene, I would create a simple, low poly Viking campsite for my 360° scene. I didn’t want to include any animated pieces in the scene, as when including animations in a 360° scene, there is the chance that they will be missed by the viewer if they are facing a different direction. Additionally, if the props come too close to the viewer, it might make the viewer feel like they’re unsafe. A way to counteract this is to include leading lights and spatial audio to direct the player to look in a certain area, yet at this point in time, this is something I am unfamiliar with and plan on learning how to use in my final project.
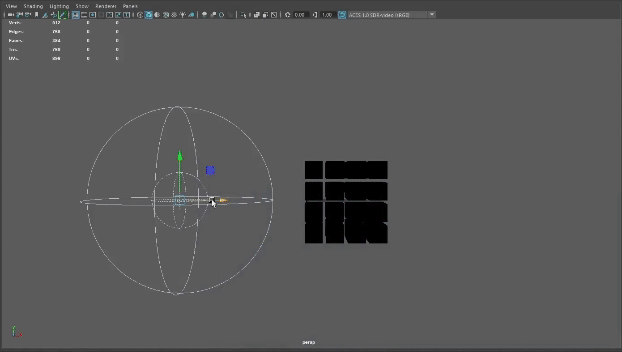
One of the things that I wanted to ensure was in the scene was a ground plane, as this would ensure that the person viewing the scene wouldn’t feel as though they would be falling or disorientated. Additionally, I used a HDRI file from PolyHaven on the Arnold Skylight to give the scene softer lighting (Zaal, 2023a) than the standard lighting that is provided by the default Arnold Skylight.
USING PREMIERE PRO
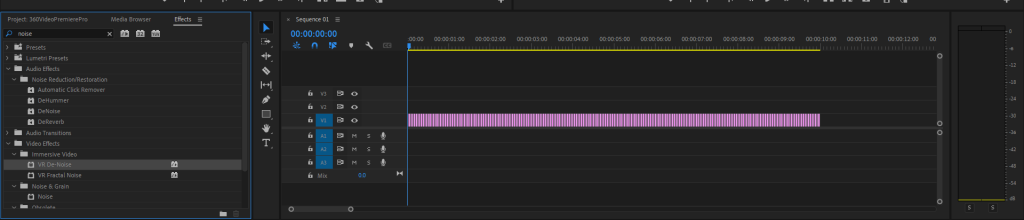
With all of the frames now rendered, I brought them into Adobe Premiere Pro in order to create a 360 degree scene. This was my first time using Premiere Pro, as I normally use DaVinci Resolve to edit and render my videos, which made it somewhat of a challenge to understand the software due to my inexperience with it.
I had to edit and export this video multiple times, as the video was fairly noisy when viewing it. After conducting some research on how to improve the quality of the video, I made use of the VR Denoise effect inside the effects tab of premiere pro to reduce the amount of noise in the sequence.
RESULT AND POTENTIAL APPLICATIONS
Below is my the finalised 360° scene created in Maya. With this medium, there’s a multitude of ways that I would envision it being used. On the one hand, there is using the 360° space for entertainment , creating an experience that would immerse the viewer into a fantasy world through the use of a VR headset, such as a distant far away planet or a recreation of a scene from a movie or a book. On the other hand, I can also envision this as being an interesting way to learn – both for students learning about historical events and for companies onboarding new employees.
In terms of Game Design, I can imagine the 360° space being primarily used as a means of entertainment for an audience, but I can also envision it being used as a different method of prototyping a story, such as creating scenes and key beats in a 360° space to potentially garner a different perspective on the story. Additionally, I also imagine it being utilised to allow someone to view a work in progress area for a game, which would provide a sense of scale and postitioning of certain assets from a first person perspective.
USING MASH IN MAYA
For this exercise, I wanted to familiarise myself with how MASH functions, as I haven’t explored this plugin within Maya before. By following the tutorials on Canvas, I explored using the colour node, the audio node and the replicate node before starting the project entirely.

For this lab exercise, I decided to partially follow a tutorial by Nexttut Education (Nexttut, 2022), as I have followed some of their tutorials before for some of my personal projects and am familiar with their style of teaching. Their project was to create a render using MASH, whereas I wanted to continue it further to create a short animation.
I wanted this scene to be visually interesting through the use of colour and motion; The reason behind including motion to this scene is entirely due to the fact that my 360° scene had entirely still objects to keep the viewer feeling safe. As this scene is including spheres, which through shape theory is predominantly seen as being a non-threatening, soft shape (Geniets, 2021), having the spheres roll past the camera would not be detrimental to the viewer.
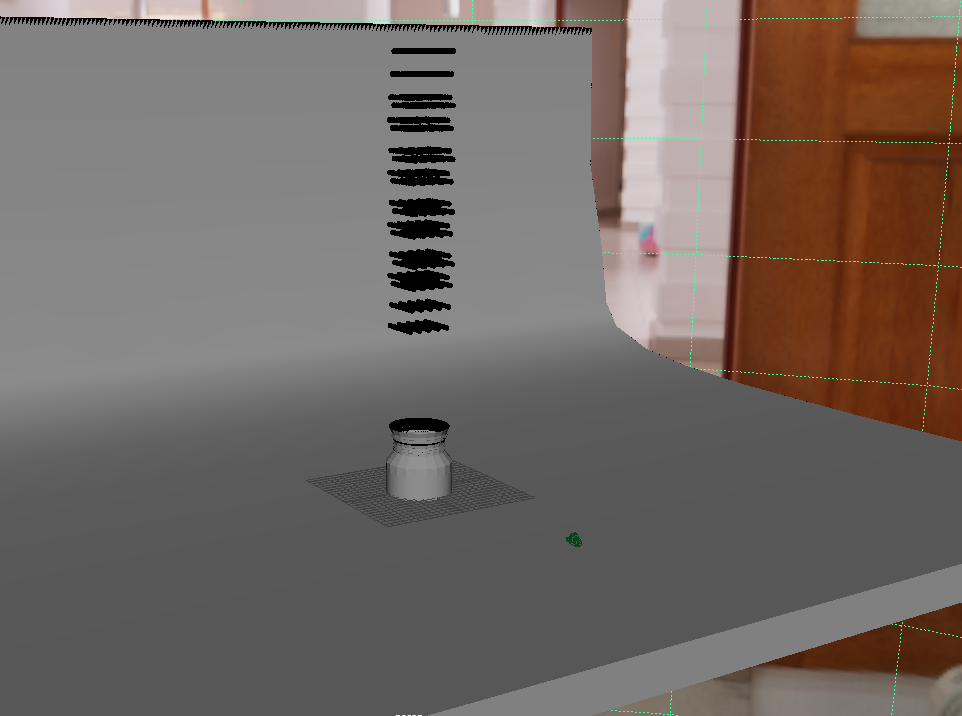
I created a jar to hold the spheres in – with the intent to have some of the spheres to spill over the edges of it and continue to roll further. My first attempt at doing this didn’t work, and the spheres where falling through the jar and the floor that I had created; this was due to the fact that I hadn’t set the jar as a mesh that could react with the dynamics node. With the addition of the dynamics node, a bullet solver was added to the scene – which allowed for me to set collision for meshes.

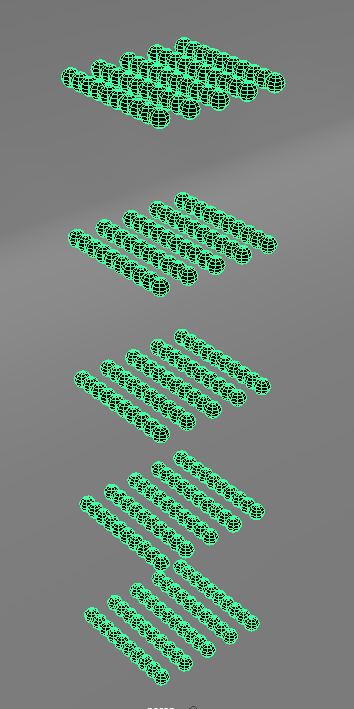
Initially, my set up was a 5x5x5 square of low polygonal spheres to fall down onto the jar, yet through the testing, this didn’t give the desired effect I was after. This was then increased to 5x5x10, and then through the use of the Replicator node in MASH, replicated three times, creating 750 spheres in the scene. This filled the created glass jar and allowed for the spheres to collide and spill over the top, adding more motion to the scene.
For the rendering, I decided to make use of the Arnold skylight for a quick way to light the scene, ensuring that everything would be lit sufficiently. Furthermore, I decided to reuse the technique of applying a HDRI to achieve softer lighting for my final render. The HDRI I used is the “Poly Haven Studio” by Greg Zaal (Zaal, 2023b).
RESULT AND POTENTIAL APPLICATIONS
Below is my the finalised MASH render. With MASH, I feel as though there is a large amount of ways it can be applied to Immersive Design, and that I have only just explored a small portion of it. I found it useful to be able to replicate meshes and distribute them evenly across a scene through the use of a single node, rather than attempting to duplicate the mesh repeatedly, which is a method I am planning on including in my Maya pipeline for multiplying and distributing smaller objects.
As an example idea for a project I would create using MASH, I would create something similar to a cityscape – making use of cubes and cylinders to build up the city. Once I had the desired amount of building and streets, I would then make use of MASH to evenly distribute the buildings over an area and apply randomisation, changing the scale, colour, height and rotational values of the objects in the scene.
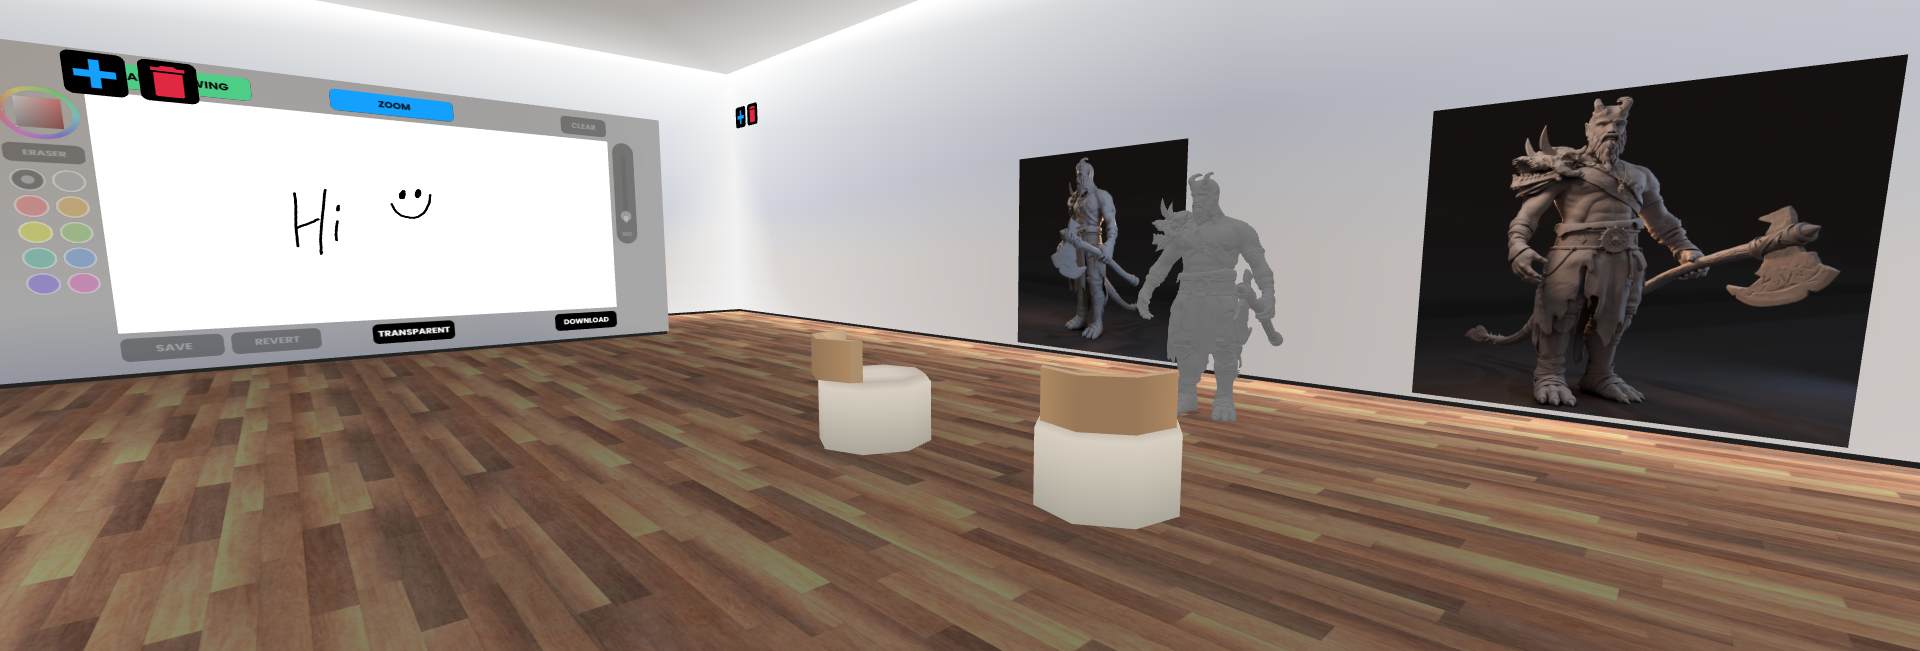
USING FRAME VR
I decided for the FrameVR exercise to make use of the museum template, essentially creating a frame in which I could show off my portfolio and projects that I had completed, alongside some of the pieces that I had created during my studies at University.
I decided to include the character that I had created over the summer holidays, making use of the various posed FBX models I had of my character. I had to make some small adjustments to the file type, as FrameVR only accepts the GLB format for 3D models, whereas my character was an FBX model; This was quickly solved by bringing the character into Adobe Substance Stager and re-exporting the character as the required file type.
Additionally, I explored some of the assets included, such as some of the stock 3D models in their library, effects and the whiteboard feature. FrameVR has a wide range of things that can be included in the space, ranging from visual effects to AI NPC’s that can be placed in the Frame as a helper for other people to interact with
Link to the FrameVR: Frame (framevr.io)
(If the embedded link breaks: https://framevr.io/rjusher)
POTENTIAL APPLICATIONS
I enjoyed experimenting with FrameVR and can see a variety of ways that this can be utilised. For 3D artists such as myself, I would envision it being utilised to showcase and display models in the 3D/Virtual space whilst additionally being able to speak to other people in that frame and explain the models, almost like a new form of networking.
I also believe that it could also be used as an additional resource for major public events, allowing people who may not be physically able to attend receive a similar experience safely. The person could move around the space in their own time on their own computer or headset, choose whether they would want to speak to a person and explore the space without having to deal with large crowds, in turn, improving the accessibility.
REFERENCED MATERIAL:
Geniets, T. (2021) Shape language basics in art. LtL – Life to Legend. Available online: https://www.lifetolegend.com/art-articles/shape-language-basics-in-art/
Nexttut (2022) MAYA TUTORIAL | MASH Dynamics basics. www.youtube.com. Available online: https://www.youtube.com/watch?v=YYW-vzXz8ZU&t=1267s
Zaal, G. (2023a) Kloofendal 43d Clear (Pure Sky) HDRI • Poly Haven. Poly Haven. Available online: https://polyhaven.com/a/kloofendal_43d_clear_puresky
Zaal, G. (2023b) Poly Haven Studio HDRI • Poly Haven. Poly Haven. Available online: https://polyhaven.com/a/poly_haven_studio